Are you ready to take your WordPress site to the next level? If you’ve ever felt overwhelmed by the thought of customizing your website or simply want to learn how to make it uniquely yours, you’re in the right place! The WordPress Customizer is a powerful tool that can transform not just the look and feel of your site, but also how your visitors interact with it. Whether you’re a complete beginner or a seasoned pro looking to refine your skills, this complete guide will walk you through the ins and outs of the Customizer. From adjusting your site’s colors and fonts to adding widgets and navigating through the myriad of settings, we’ll break it all down for you. So, grab a cup of coffee, get comfy, and let’s dive into the world of WordPress customization! You’ll be amazed at how simple it can be to create a stunning, personalized website that truly reflects your brand and vision.
Understanding the WordPress Customizer and Its Importance
sites. Embracing this tool can significantly enhance the overall user experience on your site, ultimately leading to higher engagement and satisfaction. Whether you’re a seasoned developer or a newcomer to WordPress, the Customizer has something to offer everyone, making it an indispensable part of your website management toolkit.
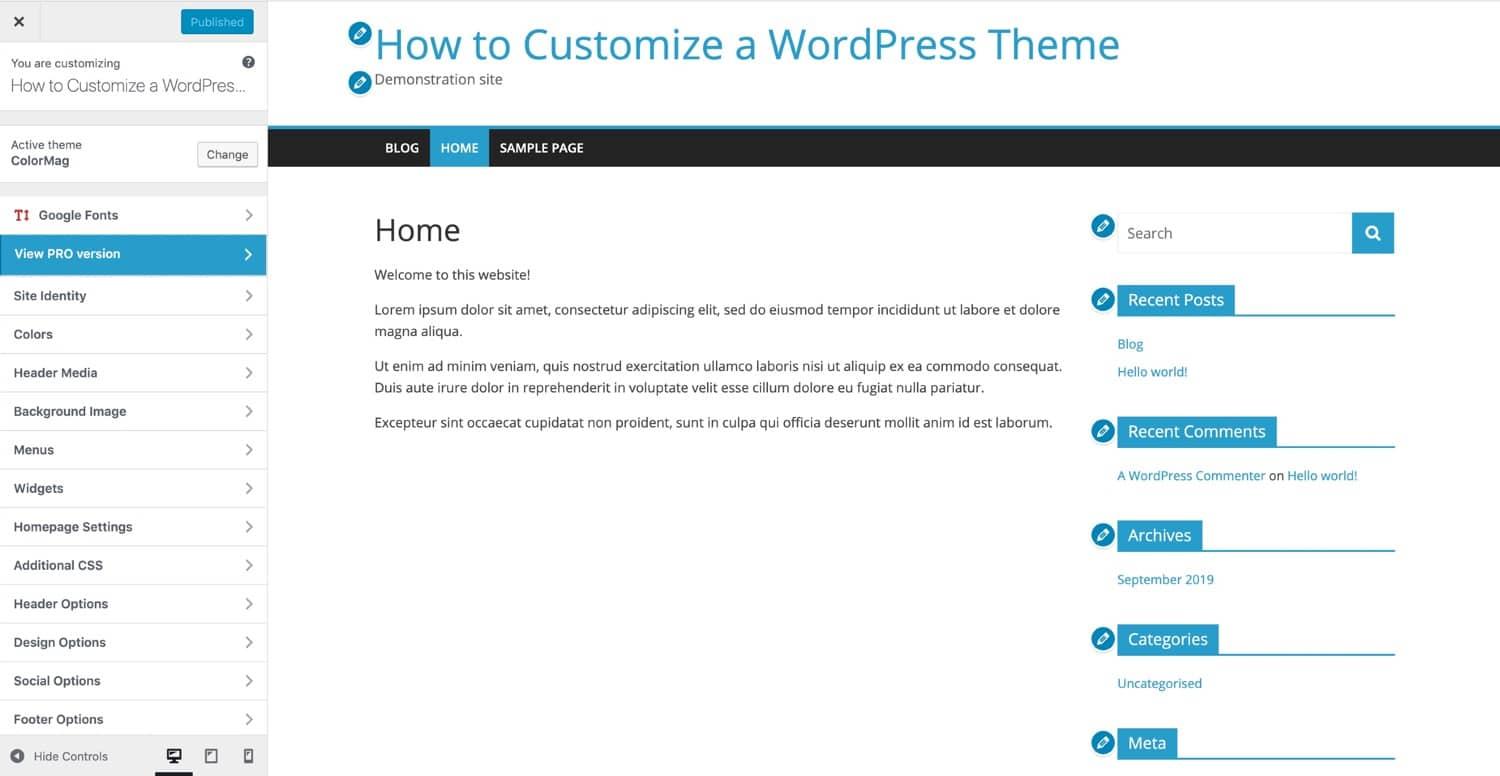
Navigating the Customizer Interface Like a Pro
Customizing Your site Identity to Stand Out
Your site’s identity is the first impression visitors get, and making it memorable is essential for standing out in the crowded digital landscape. Customizing your site identity in WordPress is not just about aesthetics; it’s about crafting a unique brand presence that resonates with your audience. By leveraging the WordPress Customizer,you can easily tweak various elements to create a cohesive look and feel for your site.
Start with your site title and tagline. These elements are crucial as they communicate what your website is about in just a few words. To change these, navigate to the Site Identity section in the customizer. Here’s how to make the most of it:
- Keep it Concise: Aim for clarity with your site title. A short, catchy name is easier to remember.
- Use Keywords: Incorporate relevant keywords in your tagline that reflect your site’s core purpose.
- Brand Consistency: Ensure your site title and tagline align with your overall branding strategy.
Next,focus on your logo and site icon. A well-designed logo instantly communicates your brand identity and helps establish trust. When uploading your logo, consider the following:
- Quality Matters: Use high-resolution images to maintain clarity across different devices.
- Keep It Simple: A minimalist logo often has a stronger impact and is more versatile.
- color Harmony: Ensure your logo colors complement your site’s color scheme for a unified look.
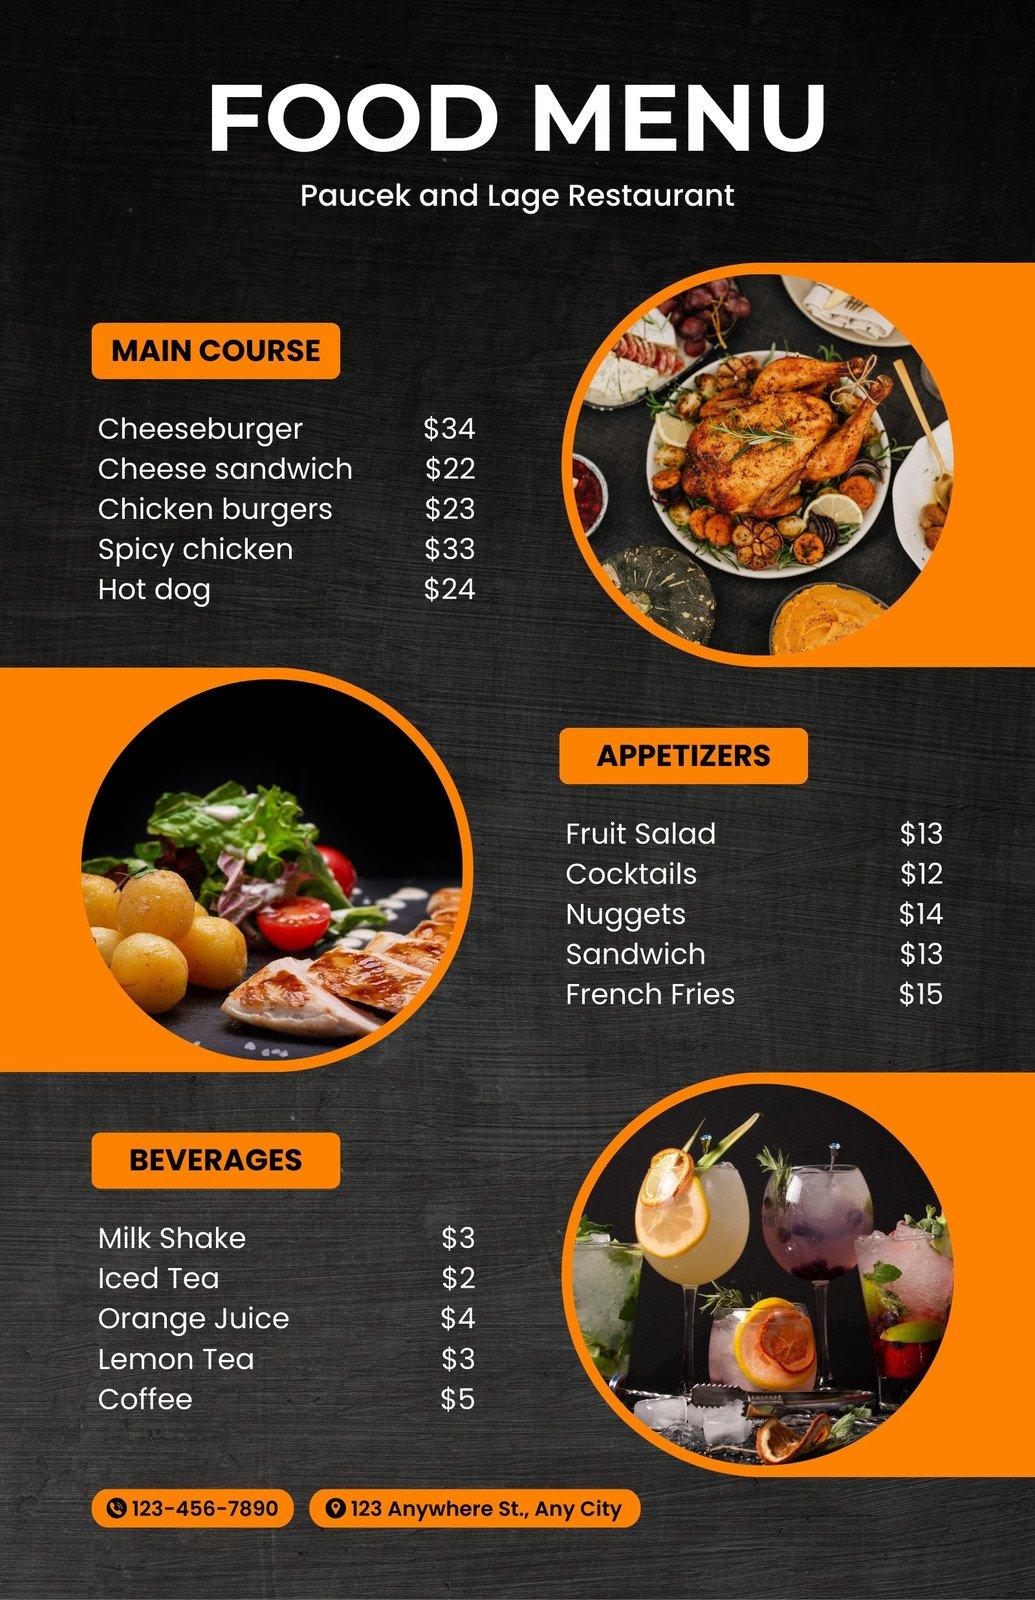
Don’t forget to set your header and background images. These visual elements can further enhance your site’s identity:
| Element | tips for Customization |
|---|---|
| Header Image | choose an image that represents your brand ethos. |
| Background Image | Make sure it doesn’t distract from your content. |
Lastly, the role of your color scheme and fonts cannot be overstated. These elements should reflect your brand personality and appeal to your target audience. Utilize the Customizer to experiment with various color palettes and typography.A harmonious color scheme can create a more inviting and cohesive user experience, while well-selected fonts can enhance readability and appeal.
Exploring Theme Options for a Unique Look
Harnessing the Power of Colors and Fonts
Colors and fonts are not merely aesthetic choices; they are powerful tools that can shape the perception of your brand and enhance user experience. When you dive into the WordPress customizer, you’ll discover a vast palette and typographical options that can transform your site from ordinary to remarkable. Understanding how to harness these elements effectively will set your website apart from the competition.
Choosing the Right Color Palette
Colors evoke emotions and can influence user behavior. Here are a few tips to help you choose the right color palette for your website:
- Consider Your Brand: Your colors should reflect your brand’s personality. For instance, a tech company might lean towards cool blues, while a creative agency might prefer vibrant hues.
- Create Contrast: Ensure that there is a strong contrast between text and background colors for optimal readability.
- Limit Your Palette: Stick to 3-5 main colors to keep your design cohesive and avoid overwhelming visitors.
Typography: The Voice of Your Content
Your choice of fonts can communicate more than just words; they can convey your brand’s tone. Here’s how to select the perfect typography for your site:
- Readability Matters: Choose fonts that are easy to read on all devices. Consider sans-serif fonts for body text and serif fonts for headings.
- Hierarchy is Key: Use different font sizes and weights to create a visual hierarchy, guiding your users through your content effortlessly.
- Limit Font Varieties: Stick to 2-3 different fonts to maintain a clean look. This ensures your site remains professional and stylish.
Putting It All Together
Once you’ve chosen your colors and fonts, it’s time to apply them in the WordPress Customizer. Here’s a simple layout to visualize how your choices can work together:
| Element | Color | Font |
|---|---|---|
| Header | #2C3E50 | Arial Bold |
| Body Text | #34495E | Open Sans |
| Links | #E74C3C | Open Sans Italic |
By using the WordPress Customizer to experiment with your selected colors and fonts, you can instantly preview changes and see what resonates best with your audience. This iterative process allows you to refine your design until it perfectly encapsulates your brand identity.
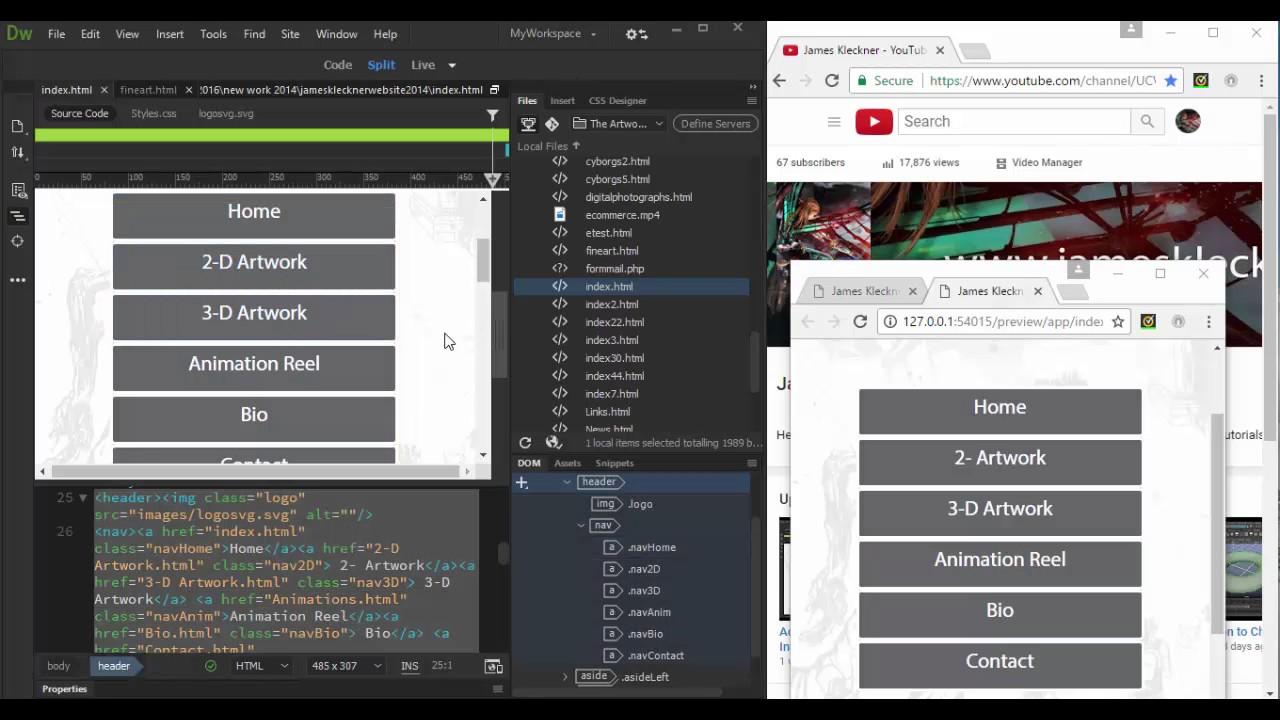
Creating Menus and Widgets for Better Navigation
When it comes to enhancing the user experience on your WordPress site, creating well-structured menus and engaging widgets is essential. The WordPress Customizer allows you to manage these elements effortlessly, giving your visitors seamless navigation that keeps them coming back for more.
To get started with menus, navigate to the Customizer and find the Menus section. Here, you can create new menus or edit existing ones. Consider the following tips for crafting effective menus:
- Limit your options: Too many choices can overwhelm users. Aim for 5-7 main items.
- Use descriptive labels: Make it easy for visitors to understand what they’ll find by using clear, concise labels.
- Prioritize vital pages: Place your most important pages at the top to guide users where you want them to go.
After setting up your menus, explore the Widgets section. Widgets play a crucial role in adding functionality and information to your sidebars and footers. Here are a few engaging widget ideas to consider:
- Search Bar: Allow users to quickly find content with a simple search feature.
- Recent Posts: Showcase your latest articles to encourage browsing and keep content fresh.
- Social Media Links: Create a connection with your audience by linking to your social profiles.
To see how your menus and widgets will look on your site, utilize the live preview feature in the Customizer. As you make changes, they will reflect in real-time, allowing you to fine-tune until everything aligns perfectly with your vision.
Remember to keep testing the navigation. Consider usability tests where friends or users navigate your site to give feedback. Adjust based on their input to ensure a satisfying user experience.
Previewing Changes in Real-Time for Instant Feedback
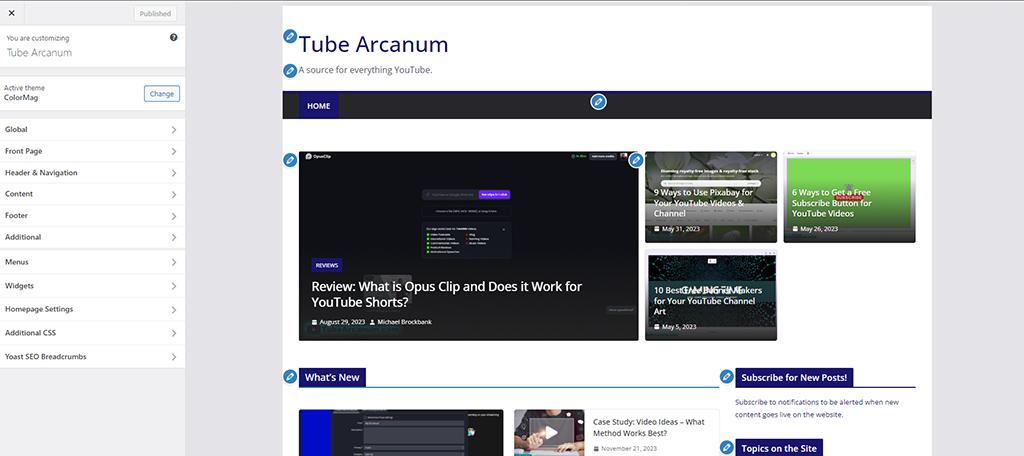
One of the standout features of the WordPress customizer is its ability to show changes in real-time. As you tweak settings, you can immediately see how those adjustments will affect your site’s appearance. This functionality not only enhances your workflow but also significantly improves decision-making by allowing you to visualize modifications as they happen.
When you access the Customizer, you’ll notice a live preview of your site on the right side of the screen. This interactive interface allows you to:
- Change your site’s theme colors and see how they harmonize with your content instantly.
- Edit header information and immediately assess the impact on your site’s overall design.
- Modify widget settings while checking their arrangement in real-time.
- Adjust typography and witness the immediate transformation in font style and size.
Moreover, the Customizer includes toggle options for various settings, allowing you to experiment without fear of making irreversible changes. Imagine updating your site layout or adding a new widget and seeing exactly how it will look before hitting the publish button. This capability not only saves time but also enhances creativity, encouraging you to explore different design possibilities.
For further clarity, consider the following simple table that outlines some of the key settings you can modify in real-time:
| Setting | Description | Impact on Preview |
|---|---|---|
| Site Title | The main title displayed on your website | Instantly updates the header |
| Background Color | The color behind your content | Changes the whole site’s ambience |
| Menu Structure | Arrangement of your navigation links | Real-time reflection of menu changes |
Using the WordPress Customizer for real-time previews empowers you to create a website that perfectly aligns with your vision. Instead of guessing what changes might look like, you can confidently adjust elements and see the results unfold before your eyes, facilitating a more enjoyable and efficient design process.
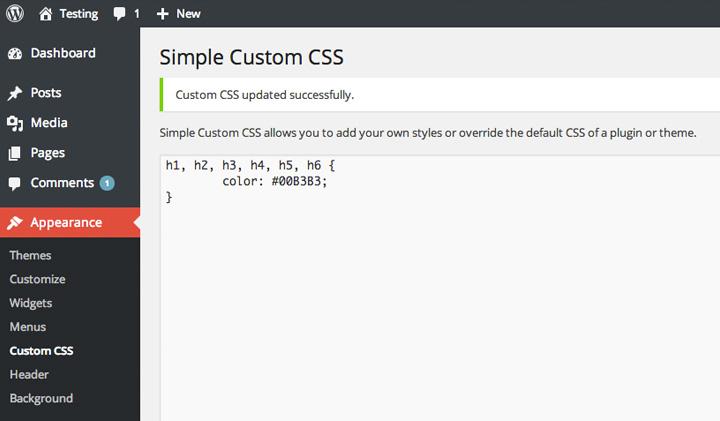
Tips for Using Additional CSS to Fine-Tune Your Design
Using additional CSS in the WordPress Customizer is a powerful way to customize your site beyond the default settings. Here are some tips to help you effectively use CSS to fine-tune your design:
- Start Small: If you’re new to CSS,begin with small changes like adjusting font sizes or colors. this approach will help you see results quickly and build confidence.
- Use the Inspector: Right-click on elements in your browser and select “Inspect” to identify the classes and IDs used in your theme. This tool is invaluable for targeting specific elements.
- Test responsiveness: Make sure your CSS changes look good on all devices. Use media queries to adjust styles for tablets and mobile phones.
- Comment Your Code: Add comments in your CSS to explain why you made changes. This practice will be helpful when you revisit your code later or if someone else needs to understand it.
To give you an idea of how you can structure your CSS for different sections of your site, consider the following table:
| Element | CSS Example |
|---|---|
| Header | header { background-color: #333; color: #fff; } |
| Button | .button { border-radius: 5px; padding: 10px 20px; } |
| Link | a:hover { text-decoration: underline; color: #ff6600; } |
when applying your CSS, remember to check for specificity issues. If your styles aren’t applying as was to be expected, it might be due to other conflicting styles. You can increase specificity by being more specific in your selectors or by using the !important declaration sparingly.
Lastly, always preview your changes before publishing.The Customizer allows you to view your site in real-time, so take advantage of this to ensure your tweaks enhance the overall user experience. With these tips, you’ll be well on your way to creating a visually stunning WordPress site that reflects your unique brand!
Saving and Publishing Your Customizations with Confidence
Once you’ve made your customizations in the WordPress Customizer, the next step is to save your changes and publish them confidently. Understanding how to effectively save and manage your modifications ensures that your website remains consistent and reflects your brand’s identity. Here’s how to navigate that process smoothly:
- Preview Your Changes: Before you hit the save button, take a moment to preview how your modifications will look across different devices. The Customizer allows you to see your changes in real-time, giving you the opportunity to tweak elements for the best fit.
- Save Drafts: If you’re not ready to publish your changes just yet, consider saving them as drafts. This feature allows you to revisit your customizations later without the risk of losing your work.
- Use the Publish Button: Once you are satisfied with your edits, simply click the Publish button. Your changes will go live, making your website instantly updated with your new design choices.
It’s also crucial to keep your website backed up before making meaningful changes.This way, if anything doesn’t go as planned, you can quickly revert to a previous version. Most WordPress hosting providers offer backup solutions or plugins that can safely store your site data.
| Action | Best Practice |
|---|---|
| Preview Changes | Check on multiple devices |
| Save Drafts | Use this for incomplete edits |
| Publish Changes | Confirm all edits are final |
| Backup Site | Regular backups prevent data loss |
Lastly, don’t forget to test your website after publishing. Navigate through your site to ensure everything functions correctly. Check links, images, and interactive features. This extra step ensures that your visitors have a seamless experience that reflects the quality of your customizations.
Troubleshooting Common Issues in the WordPress Customizer
Even the most seasoned WordPress users encounter issues when working with the Customizer. Fortunately, many of these problems are common and can be resolved with a few simple troubleshooting steps. here are some effective solutions to help you navigate through the most frequent issues.
- Preview Not updating: If changes aren’t appearing in the live preview, try clearing your browser cache or switching to a different browser. Additionally, disabling any caching plugins temporarily can also resolve this issue.
- Customizer Not Loading: This can happen due to various reasons, such as conflicting plugins or themes. To troubleshoot, deactivate all plugins and switch to a default theme like Twenty Twenty-Three. If the Customizer loads, reactivate them one by one to identify the culprit.
- Missing Options: Sometimes, options may not appear as expected.Verify that your theme supports the features you are trying to access. Consult the theme documentation for guidance on available Customizer settings.
If you encounter errors while saving changes, it might be due to server configuration or JavaScript issues. Check the console in your browser’s developer tools for error messages that can point you in the right direction. Additionally, ensuring that you have the correct file permissions on your server can sometimes resolve saving issues.
in some cases, your browser settings might interfere with the Customizer functionality. Consider disabling any browser extensions, particularly ad-blockers, as they can affect how the Customizer operates. If the issue persists, trying a different device or network can definitely help isolate the problem further.
if all else fails, don’t hesitate to reach out to the WordPress support forums or your theme’s support team. The community is vast,and someone else might have faced the same issue. You can also consider checking the WordPress documentation for the latest updates or known issues regarding the Customizer.
Frequently Asked Questions (FAQ)
Q&A: How to Use the WordPress Customizer: A Complete Guide
Q1: What exactly is the WordPress customizer?
A1: Great question! The WordPress Customizer is a powerful feature that allows you to tweak your website’s appearance in real-time. It’s like having a live preview of your site while you make changes! You can adjust everything from your site title and colors to fonts and widget placements—all without touching a single line of code.
Q2: Why should I use the Customizer instead of just editing my theme directly?
A2: Using the Customizer is like having your cake and eating it too! It provides a safe and user-friendly environment to see how changes will look before you make them live. Unlike direct edits, which can sometimes lead to mistakes or require technical know-how, the Customizer offers a visual interface that’s accessible for everyone. Plus, it saves your changes until you’re ready to publish!
Q3: Can I see my changes in real time?
A3: Absolutely! That’s one of the best features of the Customizer. As you tweak settings—like adjusting colors or changing fonts—you can see those changes take effect immediately. It’s incredibly helpful for visualizing how your site will look, allowing you to refine your design on the fly.
Q4: What kinds of changes can I make with the Customizer?
A4: Oh, you can do so much! You can customize your site identity (like your logo and tagline), adjust colors and typography, set your homepage settings, manage menus and widgets, and even add custom CSS. It’s a one-stop shop for elevating your website’s look and functionality!
Q5: is the Customizer easy to use for beginners?
A5: Definitely! One of the biggest advantages of the wordpress Customizer is its user-friendly interface. Even if you’re a complete beginner, you’ll find that navigating through the options is intuitive. Plus, there are plenty of tutorials and resources available to help you get started. You’ll be customizing like a pro in no time!
Q6: Are there any limitations to using the Customizer?
A6: While the Customizer is a fantastic tool, there are a few limitations. Not every theme utilizes the Customizer fully, so some options may be missing depending on your theme.Additionally, more advanced customizations might require you to dive into code or use additional plugins. Though, for most users, the Customizer covers a vast array of customization needs!
Q7: What if I make a mistake or don’t like my changes?
A7: No worries at all! The customizer has your back. You can preview changes without publishing them, so if something doesn’t look right, you can simply reset it. Plus, there’s an option to discard changes when you exit, so you won’t accidentally overwrite your existing settings.
Q8: How do I access the WordPress Customizer?
A8: Getting into the Customizer is super easy! Just log into your WordPress dashboard, go to “Appearance,” and click on “Customize.” Voilà! You’re in the Customizer, ready to explore all the options at your fingertips.
Q9: any pro tips for using the Customizer effectively?
A9: Absolutely! Here are a few pro tips:
- Take your time: Experiment with different settings and see what looks best.
- Use the ‘Publish’ button wisely: Only hit publish when you’re happy with your changes.
- Preview on different devices: Use the responsive preview mode to check how your site looks on desktops, tablets, and mobile devices.
- Document your changes: Keep notes of what you modified so you can easily revert back if needed.
Q10: Why should I start using the WordPress Customizer right now?
A10: If you want a stunning website that captures your brand’s essence without the hassle of coding, the WordPress Customizer is your best friend! It’s user-friendly, versatile, and lets your creativity shine while keeping everything organized. Don’t wait—dive in now, and transform your site into something really special!
—
Now, are you ready to unleash your inner designer with the WordPress Customizer? Let’s get started!
In Retrospect
and there you have it! You’re now equipped with all the knowledge you need to navigate the WordPress customizer like a pro. Whether you’re tweaking colors, adjusting layouts, or previewing changes in real-time, this tool is your best friend for creating a stunning website that truly reflects your brand.
But don’t stop here! Dive in, explore the features, and let your creativity run wild. Remember, the Customizer is all about making your website uniquely yours. So, grab that cup of coffee, open up your WordPress dashboard, and start experimenting. You might just surprise yourself with what you can create!
And if you have any questions or need a little extra help along the way, don’t hesitate to reach out. Join the community of WordPress users who are eager to share tips and ideas. happy customizing! Your dream site is just a few clicks away!