Creating a stunning gallery for your website can be a game-changer, especially if you’re using the Eduma theme. Whether you’re showcasing your students’ achievements, highlighting course offerings, or sharing memorable events, a well-organized gallery can draw visitors in and keep them engaged. But if you’re feeling a bit overwhelmed about how to set it up, don’t worry! In this step-by-step guide, we’ll walk you through the process of creating a captivating gallery that not only looks great but also enhances your site’s functionality. By the end of this article, you’ll be equipped with all the tools and tips you need to bring your visual content to life. Let’s dive in and transform your Eduma theme into a stunning visual showcase!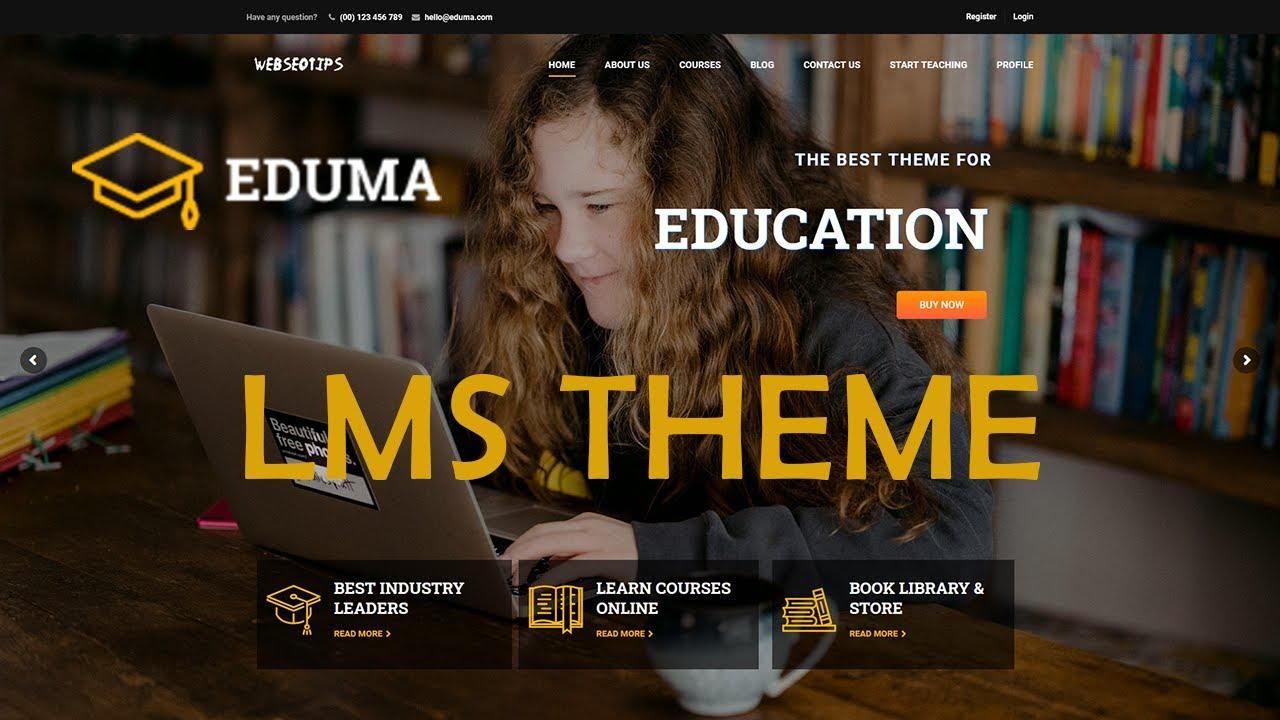
Understanding the eduma Theme Features for Your Gallery
When it comes to creating a stunning gallery using the Eduma theme, understanding its features is essential to maximize your site’s aesthetic appeal and functionality. The Eduma theme is packed with powerful tools designed specifically for educational websites, but its adaptability makes it perfect for any gallery-focused project. Let’s explore how you can leverage these features to craft a visually engaging gallery that captivates your audience.
One standout feature of the Eduma theme is its customizable gallery layouts. You can choose from various styles,such as:
- Grid Layout: Ideal for showcasing multiple images in a structured format.
- Masonry Layout: Offers a creative arrangement that adjusts according to image sizes.
- Slider Gallery: Perfect for highlighting specific images with a dynamic slideshow affect.
Another remarkable aspect is the integrated media support. Eduma allows you to embed images, videos, and even audio files, giving your gallery a multi-dimensional experiance. This is particularly beneficial for educational content, where you may want to combine visuals and audio to enhance learning. You can easily upload multimedia files through the WordPress media library, ensuring a seamless integration into your gallery.
To further enhance user engagement,Eduma provides interactive elements like filters and categories. By implementing these features, visitors can quickly navigate through different sections of your gallery based on their interests. You can create a simple table to outline the categories available:
| Category | Description |
|---|---|
| Photography | Showcase stunning images from events, workshops, or projects. |
| Artwork | Exhibit student or staff artwork to celebrate creativity. |
| Events | Highlight various events with detailed images and descriptions. |
Lastly,don’t forget about the SEO capabilities integrated within the Eduma theme. Optimizing your gallery for search engines is crucial for visibility. You can add alt text to your images, use descriptive titles, and ensure your gallery pages load quickly, which enhances the overall user experience. With the right SEO practices, your gallery can attract more visitors, increasing engagement and interaction.
Choosing the Right Images for Your Eduma Gallery
When it comes to building a stunning gallery in the Eduma theme, the images you choose are paramount. The right visuals can captivate your audience, convey your message, and enhance the overall aesthetic of your site. To ensure your gallery stands out, consider the following key elements when selecting your images:
- Relevance: choose images that relate directly to your content or theme. This helps in creating a cohesive narrative throughout your gallery.
- Quality: High-resolution images are essential. Blurry or pixelated photos can detract from your site’s professionalism.
- Consistency: Maintain a uniform style across your images. Whether it’s the color palette, tone, or composition, consistency fosters a harmonious look.
- Emotional Impact: Opt for images that evoke emotions or tell a story. Engaging visuals can create a connection with your audience and keep them coming back.
Additionally, consider the format of your images. Different types of visuals can serve various purposes within your gallery:
| Image Type | Best Use |
|---|---|
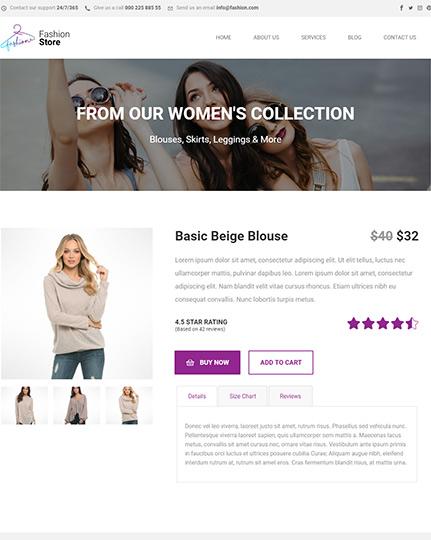
| photographs | Showcasing real-life scenarios or events. |
| Illustrations | Adding a creative flair or explaining concepts. |
| Infographics | Summarizing complex information visually. |
| Icons | Enhancing navigation or emphasizing key points. |
Lastly, don’t underestimate the power of captions and descriptions. A well-crafted caption can enrich the viewer’s understanding and provide context to your images.Make sure to include relevant keywords to improve SEO and make your gallery more discoverable. This simple addition can also enhance user engagement, inviting visitors to linger longer and explore your images.
By carefully selecting images that align with your gallery’s purpose and aesthetic, you’ll not only create a visually appealing experience but also forge a deeper connection with your audience. Remember, your gallery is a reflection of your brand, so make every image count!
Step-by-Step Instructions to Create a Stunning Gallery
Creating a stunning gallery in the Eduma theme is a straightforward process that enhances the visual appeal of your website. Follow these steps to showcase your images beautifully:
1. Access Your WordPress Dashboard
Begin by logging into your WordPress dashboard. This is where all the magic happens!
2. Create a New Page
Navigate to the Pages section and click on Add New. This is where you’ll set up your gallery page.
3. Use the Eduma Gallery Block
In the page editor, select the + Add Block button and search for the gallery block. This block is tailored to create a visually stunning gallery.
4. Upload Your Images
Click on the Upload button or choose images from your media library. Select the images that best represent your content.
Consider these tips:
- High Quality: Use high-resolution images for better visual impact.
- Consistent Theme: Choose images that share a common theme or style for cohesive aesthetics.
- Optimize Size: compress images to ensure faster loading times without compromising quality.
5. Customize Your Gallery Settings
In the block settings, you can adjust several options:
- Column Layout: Choose how many columns you want for your gallery.
- Link Settings: Decide whether to link images to media files, attachment pages, or none at all.
- Caption Settings: Add captions to highlight details about the images.
6. Preview and Publish Your Gallery
Once you have set everything up, click on Preview to see how your gallery looks. If satisfied, hit the Publish button to make it live!
Customizing Your Gallery Layout for Maximum Impact
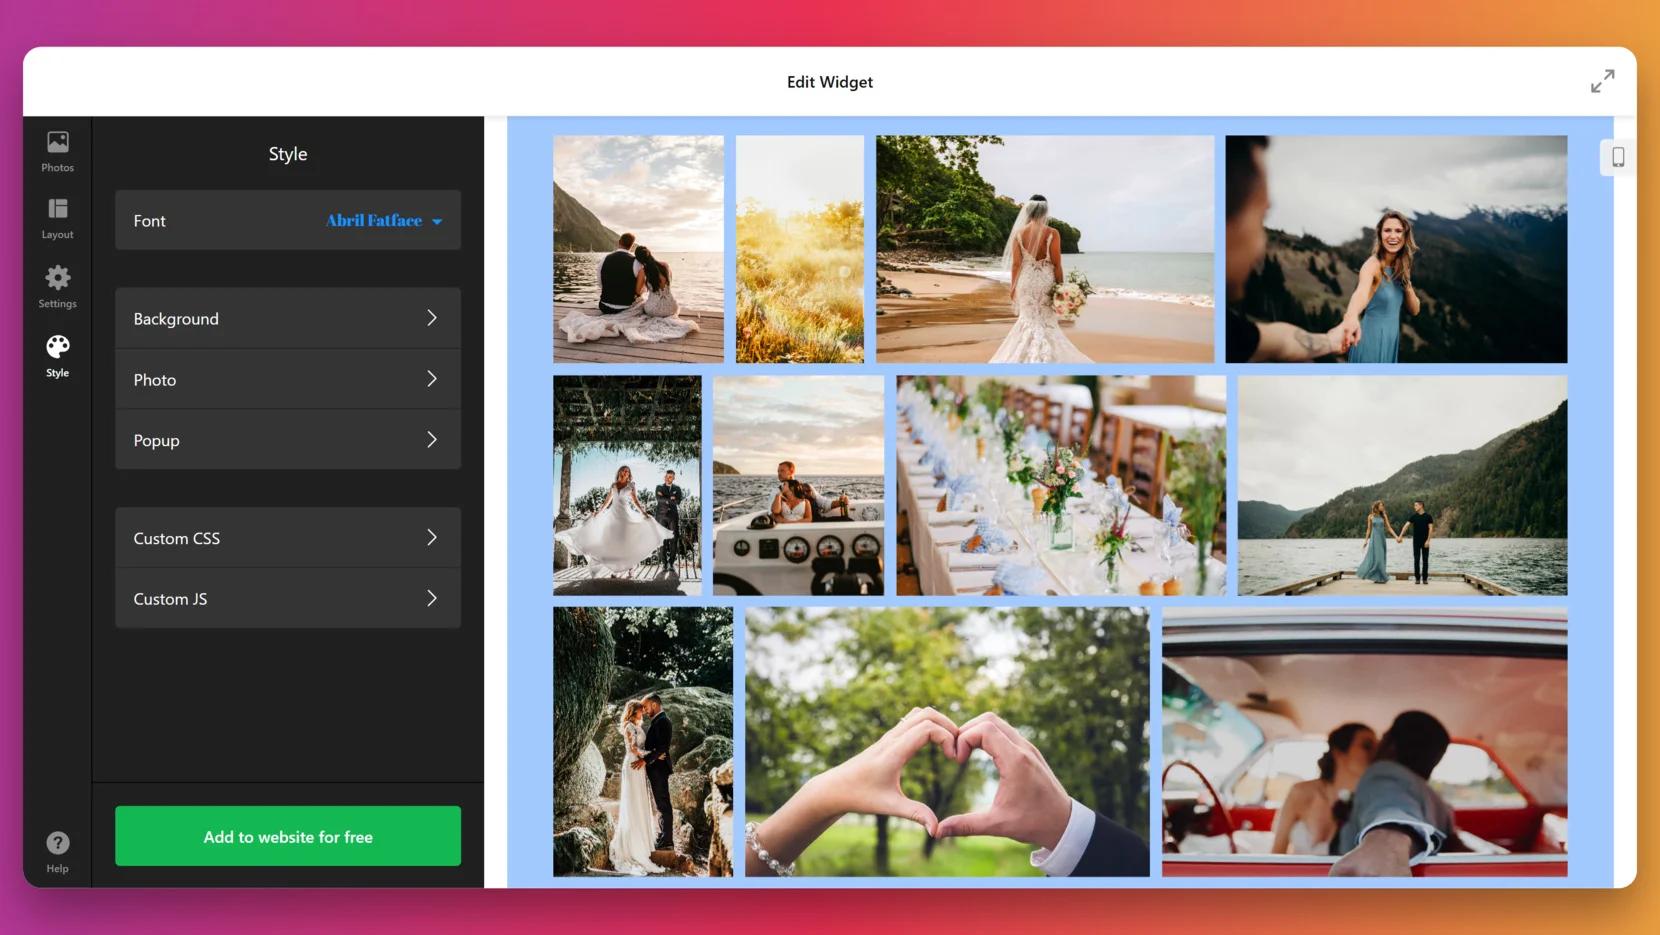
Creating a visually appealing gallery is essential for grabbing visitors’ attention and enhancing their experience. In the Eduma theme, customization options abound, allowing you to tailor your gallery layout. Here are some tips to ensure your gallery stands out:
- Choose the Right Layout: Eduma offers various layout options—grid, masonry, or carousel. Consider your content type and audience preferences. Such as, a masonry layout can add dynamism, while a clean grid may be more suitable for educational content.
- Optimize Image Quality: high-resolution images are crucial for a professional look.Ensure your images are optimized for web use to avoid slow loading times—nobody likes waiting around!
- Add Captions: Give context to your images with brief, engaging captions. Captions can draw viewers in and offer them valuable information about what they’re seeing.
Incorporating interactive elements can also elevate user engagement.Consider adding features like:
- Hover Effects: Use hover effects to reveal additional information or to create a dynamic interaction.
- Lightbox Feature: This allows users to view images in a larger format without leaving the gallery, enhancing their experience.
- Social Sharing Buttons: Make it easy for visitors to share their favourite images on social media, broadening your reach.
Don’t forget about the color scheme and typography. Consistency in these elements across your gallery will create a cohesive look that reinforces your brand identity. Here’s a simple table to illustrate how different color schemes can impact visual perception:
| Color Scheme | Visual Impact |
|---|---|
| Warm Colors | Energetic and Inviting |
| Cool Colors | Calming and Professional |
| Monochrome | Elegant and timeless |
don’t underestimate the power of whitespace. Proper spacing between images can lead to a more organized and aesthetically pleasing layout,allowing each image to breathe and capture attention effectively. Keep experimenting untill you find the perfect balance!
Integrating Your gallery with Eduma’s Course Features
can create an immersive learning environment for your students. By showcasing visual content alongside course materials, you enhance engagement and facilitate a deeper understanding of the subject matter.Here’s how you can seamlessly blend these two elements together:
- Utilize Course Pages: Start by adding your gallery to the course pages. This allows students to access images and videos relevant to the course content while they learn. You can embed galleries directly into course descriptions or lessons, making them easily accessible.
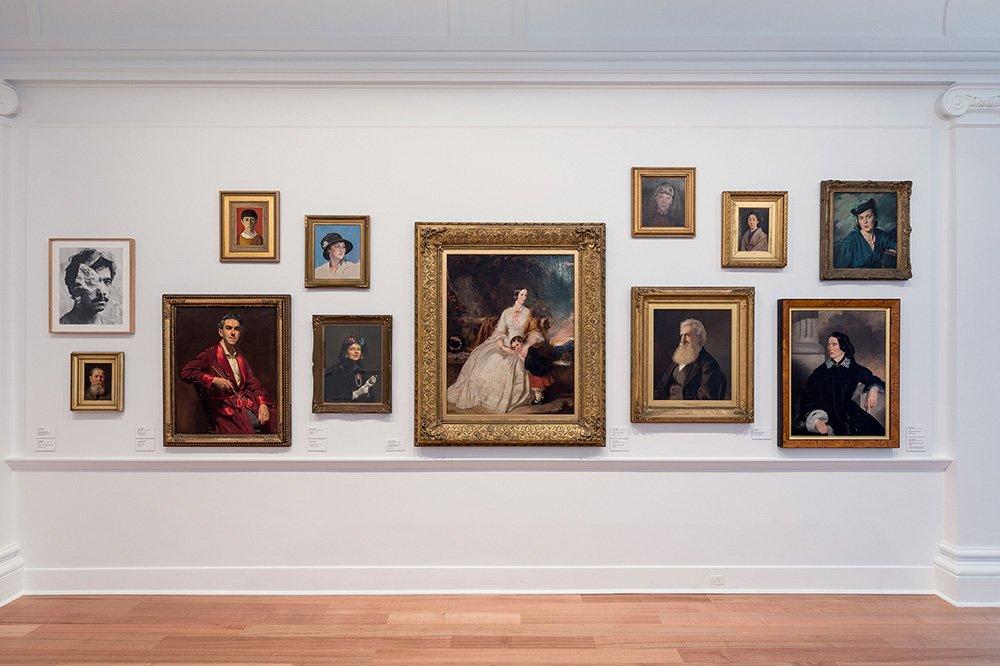
- Leverage Image Assets: Use high-quality images from your gallery as visual aids. For example, if you’re teaching a course in art history, showcasing relevant artworks can provide context and enhance the learning experience.
- Interactive Elements: Consider using interactive gallery features that allow students to click on images for more information. This can be particularly effective for courses that require detailed analysis, such as photography or design.
Furthermore, you can create a dedicated gallery section on your website that highlights various courses. By categorizing images by subject or course level, students can easily find what they are looking for, making your site more user-friendly. Here’s a simple example of how to organize your gallery:
| Course Category | Gallery Link |
|---|---|
| Art & Design | View Gallery |
| Photography | View Gallery |
| Web Development | View Gallery |
don’t forget to promote your gallery through course announcements and newsletters. Highlighting new additions or featured images can rekindle interest and encourage students to engage with both the gallery and the course content. Remember, a visually appealing and informative gallery can enhance the overall learning experience and help students connect more deeply with the material.
Enhancing User Engagement with interactive Gallery Elements
To truly elevate your gallery, integrating interactive elements can considerably enhance user engagement. These features not only captivate your audience but also encourage them to spend more time exploring your content. Here are some effective ways to make your gallery come alive:
- Hover Effects: Implement hover animations that reveal additional information or change images when users move their cursor over thumbnails. This simple interaction can spark curiosity and prompt deeper exploration.
- Lightbox Integration: A lightbox effect can provide a seamless viewing experience. When users click on an image, it expands in a modal window, allowing for a distraction-free view that encourages them to focus on the details.
- Filter Options: Adding filters (e.g., by category or date) allows users to customize their viewing experience. This interactivity not only caters to user preferences but also makes navigation intuitive and engaging.
- Comment Sections: Enable comments on each image to encourage discussions. This can foster a sense of community and make your gallery a place for sharing thoughts and feedback.
Incorporating these elements can turn a static gallery into an engaging experience. For example, a simple change such as adding a filter option can make it easier for users to find what they’re interested in, thus keeping them on your site longer. It’s about creating a journey rather than just presenting images.
Consider this table summarizing some of the interactive features you can add to enhance user engagement:
| feature | Benefit | Implementation |
|---|---|---|
| Hover Effects | Increased curiosity | Easily add CSS animations |
| lightbox | Focus on details | Use a plugin like Simple Lightbox |
| Filters | Enhanced navigation | Integrate JavaScript libraries |
| Comments | Build community | Enable WordPress comment feature |
By thoughtfully implementing these interactive elements into your gallery, you’re not just showcasing images; you’re creating an immersive experience that invites users to engage, explore, and connect. The more active you make your gallery,the more likely visitors will return and share their experiences with others.

Optimizing Your Gallery for Speed and Performance
When it comes to creating a stunning gallery on your eduma theme site, speed and performance are essential. A well-optimized gallery not only enhances user experience but also contributes to improved SEO rankings. Here are some effective strategies to ensure your gallery loads quickly while still delivering captivating visuals.
Image Compression is the cornerstone of gallery optimization. By reducing the file size of your images without sacrificing quality, you can significantly speed up loading times. Use tools like blank”>TinyPNG or blank”>ImageCompressor to compress images before uploading them to your gallery. This simple step can lead to faster loading speeds and a more responsive site.
Another key factor is Lazy Loading. This technique delays the loading of images until they are needed, such as when users scroll down the page. Implementing lazy loading can greatly enhance performance, especially for galleries with numerous images. WordPress plugins like WP Rocket or Lazy Load by WP Rocket make this process seamless and effective.
Consider using a content Delivery Network (CDN) to further optimize your gallery’s performance. CDNs cache your images across various geographical locations, which means that users can access them from servers closer to their location. This minimizes latency and speeds up loading times. Popular CDN providers include Cloudflare and StackPath, which offer easy integration with WordPress sites.
keep your gallery organized and streamlined. Limit the number of images displayed at once and categorize them to improve navigation. Consider creating a lightbox effect for larger images, allowing users to view them in full size without cluttering the main gallery page.
| Optimization Technique | Benefit |
|---|---|
| Image compression | Reduces file size, speeds up loading |
| Lazy Loading | Delays image load time, enhances UX |
| Content Delivery Network | Speeds up access through local servers |
| Streamlined Navigation | Improves user engagement and accessibility |
Promoting Your Gallery to Attract More Visitors
To truly make your gallery shine and attract a steady stream of visitors, it’s essential to implement strategic promotional techniques. Here are some effective ways to ensure your gallery gets the attention it deserves:
- Leverage Social Media: Use platforms like Instagram, Facebook, and Pinterest to showcase your gallery’s highlights. Share stunning visuals, behind-the-scenes content, and engaging stories to connect with your audience.
- partner with Local Businesses: Collaborate with cafes, bookstores, or other local establishments. Display some of your artwork in their spaces, and they can promote your gallery in return.
- Host Special Events: Organize opening nights, artist talks, or workshops. These events can draw in crowds and create buzz around your gallery. Promote them through local event listings and social media.
- Email Marketing: Build an email list of interested visitors. Send out regular newsletters with updates, featured artworks, and upcoming events to keep people engaged and informed.
Another effective approach is to optimize your website for search engines. This involves using relevant keywords that potential visitors might search for when looking for galleries in your area. Consider the following:
| Keyword | Purpose |
|---|---|
| Art galleries near me | Attract local visitors |
| Contemporary art exhibitions | Target art enthusiasts |
| gallery events | Engage with event seekers |
don’t underestimate the power of word-of-mouth. Encourage satisfied visitors to share their experiences with friends and family. Consider offering an incentive, like a discount on their next visit, for each referral they bring in. The more buzz your gallery generates,the more likely it is to attract new visitors.
Troubleshooting Common Gallery Issues in Eduma
creating a gallery in the Eduma theme can be a rewarding experience, but sometimes, you may encounter a few hiccups along the way. Let’s dive into some common issues you might face and how to resolve them efficiently.
Frist, if your images are not displaying correctly, ensure that they are properly uploaded and assigned to the gallery. Here are some steps to check:
- Image Upload: Verify that the images are uploaded to the correct media library.
- Gallery Settings: Double-check that the gallery is configured to include the intended images.
- Cache Issues: Clear your browser cache to see the most recent changes.
another frequent problem is slow loading times for your gallery. To enhance performance, consider the following tips:
- Image Optimization: Use optimized images to reduce file sizes without compromising quality.
- Lazy Loading: Enable lazy loading features to load images only when they are needed on the screen.
- Use a CDN: A Content Delivery Network can drastically improve loading speeds for global visitors.
If your gallery layout appears distorted or unresponsive, it might be a CSS conflict. Here’s what you can do:
- Check Custom CSS: Review any custom CSS you’ve added that might potentially be conflicting with the gallery’s default styles.
- Theme Updates: Ensure that your Eduma theme and plugins are updated to the latest versions.
- Responsive design: Test your gallery on different devices to ensure it adapts well across screens.
| Issue | Solution |
|---|---|
| Images Not loading | Check media upload and gallery settings |
| Slow Gallery Loading | Optimize images and enable lazy loading |
| Distorted Layout | Review CSS and check for updates |
if you continue encountering issues, consider reaching out to the Eduma support community. They can offer invaluable assistance and insights that cater specifically to your concerns. With a little patience and troubleshooting, you can create the stunning gallery you envisioned!
Tips for Maintaining and Updating Your Gallery Regularly
Maintaining and updating your gallery is essential to keeping your audience engaged and showcasing your latest work. Here are several effective strategies to ensure your gallery remains fresh and appealing:
- Regularly Review Content: Set a schedule to review your gallery content every month. Look for outdated images or posts that no longer represent your current style.
- Incorporate New Work: Always add new pieces as you create them. This shows your growth as an artist and keeps your audience interested in what you do next.
- Engage with Feedback: Listen to your audience’s feedback. If certain pieces resonate more than others, consider highlighting them or creating similar works.
Updating your gallery isn’t just about adding new images; it’s also about enhancing the overall experience. Consider the following:
- Optimize image Quality: Ensure all images are high-quality and properly optimized for the web to enhance load speeds without sacrificing visual detail.
- Utilize Categories and Tags: Organize your gallery using categories and tags. This makes it easier for visitors to navigate and find content relevant to their interests.
- Regularly Refresh Design: Occasionally update your gallery’s layout or color scheme to keep it visually appealing. A fresh design can reignite interest in your work.
To illustrate the importance of regular updates, here’s a simple table showing the benefits of maintaining your gallery:
| Benefit | Description |
|---|---|
| Enhanced Engagement | Regular updates keep visitors returning for new content. |
| Improved SEO | Fresh content can boost your search engine rankings. |
| Professional Image | A well-maintained gallery reflects professionalism and dedication. |
Ultimately, maintaining your gallery is an ongoing process that requires attention and care. By committing to regular updates and refinements, you will create a vibrant space that truly represents your artistic journey.
Frequently Asked Questions (FAQ)
Q&A: How To Make a Gallery in eduma Theme: A Step-by-Step Guide
Q1: Why should I create a gallery in the Eduma theme?
A1: Great question! Creating a gallery in the Eduma theme can significantly enhance your website’s visual appeal. It allows you to showcase your educational content, student projects, or events in an organized and attractive way. Plus, a well-designed gallery can engage your visitors, making them more likely to explore your site and enroll in your courses!
Q2: Is it difficult to set up a gallery in Eduma?
A2: Not at all! The Eduma theme is user-friendly, and setting up a gallery is straightforward. With our step-by-step guide, you’ll be able to create a stunning gallery in no time, even if you’re not tech-savvy. Trust me,once you see how easy it is indeed,you’ll wonder why you didn’t do it sooner!
Q3: What do I need to get started?
A3: you’ll need your Eduma theme installed and activated on your WordPress site. Also, gather the images you want to include in your gallery. High-quality images work best to attract visitors’ attention! Having an idea of how you want your gallery to look can help too.Q4: can I customize the gallery after I create it?
A4: Absolutely! The Eduma theme offers various customization options. You can change the layout, add descriptions, and even modify the gallery style to match your branding. This flexibility means you can always keep your gallery fresh and aligned with your educational content.
Q5: Are there any special features in Eduma that enhance my gallery?
A5: Yes! Eduma includes built-in features like lightbox effects, hover animations, and different gallery layouts. These tools allow you to create a more dynamic experience for your visitors.Plus, you can integrate it with other plugins to enhance functionality—like adding links to specific courses or events related to the images.
Q6: How do I ensure my gallery loads quickly?
A6: To keep your gallery loading quickly,optimize your images before uploading them. Use formats like JPEG or PNG and compress the files without losing quality. Eduma also handles image loading efficiently, but keeping your files optimized helps maintain a smooth user experience.
Q7: What if I run into issues while creating my gallery?
A7: Don’t worry! The Eduma theme comes with comprehensive documentation,and there’s a supportive community of users and developers who can help. You can also reach out to the theme support team for assistance. We’re all here to ensure you succeed!
Q8: Can I integrate my gallery with social media?
A8: Definitely! You can easily add social media sharing buttons to your gallery. This allows visitors to share your images,which can drive more traffic to your site. Plus, it’s a great way to showcase your content to a wider audience!
Q9: after creating my gallery, how can I promote it effectively?
A9: Promoting your gallery is key! Share it on your social media platforms, include it in newsletters, and even create blog posts highlighting the images. Encourage your students to share their projects showcased in the gallery as well.The more visibility, the better!
Q10: Where can I find your step-by-step guide to creating a gallery in Eduma?
A10: You can find the full step-by-step guide in our article titled “How To Make gallery In Eduma Theme: A Step-by-Step guide.” It’s detailed and easy to follow, so you’ll have everything you need to get started. Dive in, and let’s make your gallery shine!
Feel free to ask if you have any more questions or need additional tips!
The Way Forward
And there you have it! Creating a stunning gallery in the Eduma theme is not just a task; it’s a fun and rewarding journey that can significantly enhance the visual appeal of your website. Whether you’re showcasing student achievements, course materials, or vibrant campus life, a well-crafted gallery can captivate your audience and make your content shine.
Remember, each step you take in this process helps you connect better with your visitors, giving them a glimpse into what makes your institution unique. So, don’t hesitate to experiment with different layouts, styles, and features to find what works best for you!
If you found this guide helpful, why not share it with your fellow educators or colleagues? The more, the merrier! And if you run into any hiccups or have questions along the way, feel free to reach out. We’re all in this together, and I’m here to help you succeed in your web design journey.
Now, go ahead, unleash your creativity, and start building that eye-catching gallery that will leave your visitors wanting to learn more. Happy designing!