Are you ready to elevate your product listings and capture the attention of potential buyers? If so, you’re in the right place! A stunning product hero image is more than just a pretty picture—it’s your first chance to make a lasting impression and entice customers to click that “buy now” button.But how do you create an image that not only showcases your product but also tells your brand’s story? In this article,we’ll walk you through the five essential steps to craft the perfect product hero image. Whether you’re a seasoned pro or just starting out, these tips will help you stand out in the crowded marketplace and drive those conversions. Let’s dive in and unlock the secrets to visual success!
Crafting a Captivating Visual Story for Your Product
Creating a standout hero image for your product involves more than just a nice picture; it’s about telling a story that resonates with your audience. Your hero image should instantly communicate the essence of your product while captivating potential customers. By focusing on the right elements, you can create a visual narrative that draws viewers in and compels them to engage with your brand.
Identify your product’s unique selling proposition (USP). What makes your product different from the competition? Is it the eco-friendly materials, the cutting-edge technology, or maybe the artisanal craftsmanship? Highlighting this in your hero image will give viewers an immediate understanding of why they should choose your product. Use visuals that encapsulate this USP, such as close-ups of textures or action shots showcasing functionality.
Consider the color psychology behind your visuals. Colors evoke emotions and can substantially impact purchasing decisions. For instance, warm tones like red and orange can create urgency, while cooler colors like blue and green can inspire trust and calm. Select a palette that not only aligns with your brand identity but also resonates with your target audience. This strategic choice will help establish an emotional connection with potential buyers.
Composition is key. A well-composed image guides the viewer’s eye and highlights the most significant aspects of your product. Use the rule of thirds to balance your image and create a focal point. Incorporate negative space to ensure your product stands out without distractions. Consider including props or backgrounds that complement but don’t overpower the main subject. This thoughtful arrangement will enhance the storytelling quality of your hero image.
Incorporate lifestyle elements. Showcasing your product in real-life scenarios helps customers envision how it fits into their lives. Whether it’s a cozy kitchen setting for a cooking gadget or an outdoor adventure for sports gear, situating your product in a relatable context demonstrates its value in practical terms. Use authentic imagery that elicits aspirational feelings, making customers want to be part of that lifestyle.
Lastly, optimize for different platforms. Your hero image should look great on various devices, from mobile phones to desktops. Ensure that the resolution is high enough for clarity without sacrificing loading speed. Test how your image displays across different screen sizes and formats to guarantee a seamless experience for all users. A well-optimized hero image not only enhances visual appeal but also improves user engagement and conversion rates.
Choosing the Right Background to make Your Product Pop
When it comes to product photography, the background plays a crucial role in enhancing the overall appeal of your images.A well-chosen background can elevate the product, drawing the viewer’s eye and emphasizing its features. Here are some key considerations to ensure your product stands out:
- Color Contrast: Select a background color that contrasts with your product. For example,if you’re showcasing a light-colored item,a darker background can create a striking effect. similarly, vibrant hues can make neutral products pop.
- Texture and Patterns: Using textured backgrounds, like wood or fabric, can add depth and interest.Though,ensure that the texture complements rather than competes with the product.
- Consistency with Branding: Always align your background with your brand’s identity. Whether it’s minimalistic or bold, the background should reflect your brand’s personality.
Another critical factor is the habitat. Think about the context in which your product is typically used. For example,a kitchen gadget looks more appealing against a kitchen backdrop,while outdoor gear shines against natural scenery.This creates a narrative that resonates with potential buyers.
Don’t forget about lighting. The right lighting can transform your background and product. Natural light frequently enough works wonders, but you can also experiment with diffused artificial light to minimize harsh shadows and enhance colors. Aim for soft,even lighting that brings out the details in both your product and background.
Lastly, consider using a blurred background technique (also known as bokeh). This approach keeps the focus on the product while still providing context. It’s especially effective for lifestyle shots,where you want to convey the product’s use without distractions.
By thoughtfully selecting your background, you create a visual narrative that highlights your product’s best features and engages your customers. Remember, the right background can not only make your product pop but also tell a story that reflects your brand’s essence.
Lighting Secrets That Will Elevate Your Product Photography
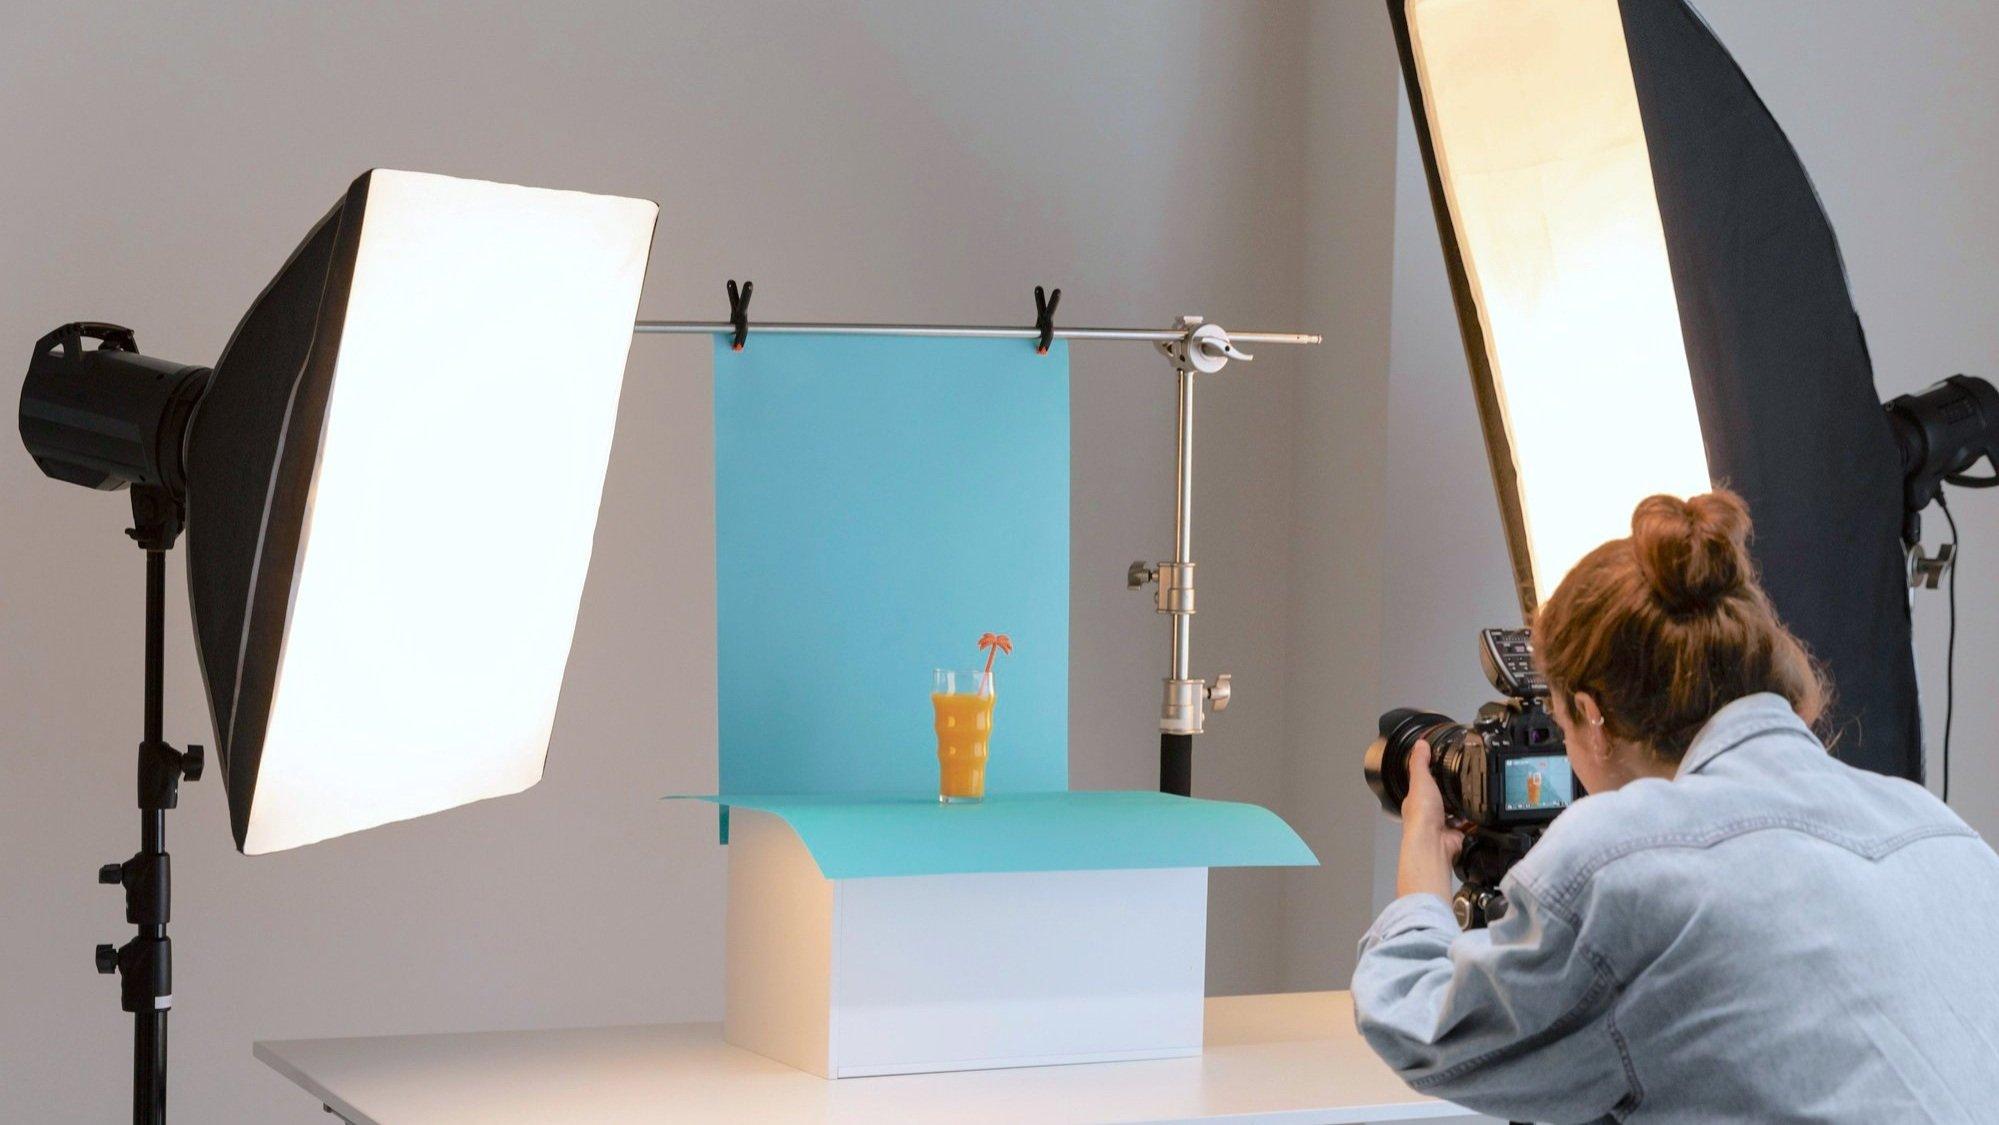
When it comes to product photography, lighting can make or break your images. The right light not only highlights your product’s features but also sets the mood and tone of the entire shot.To achieve that perfect hero image, understanding the nuances of lighting is essential. Here are some clever techniques to elevate your product photography.
First, consider the quality of your light. Natural light can be your best friend, especially during golden hour, which is the hour after sunrise and before sunset.The soft, diffused light during this time creates beautiful, flattering shadows.Alternatively, if you’re shooting indoors, use softboxes or diffusers to mimic that natural softness. This will help in minimizing harsh shadows and bright spots, ensuring your product remains the focal point.
Next, think about the direction of your light source.Side lighting can create dramatic, three-dimensional effects while backlighting can add an ethereal glow to clear products. Experimenting with angles can led to surprising results.Try placing your product at various positions relative to the light source to see which angle produces the most appealing outcome. Don’t forget to use reflectors to bounce light back onto your product for added brightness and detail.
Another vital aspect is the color temperature of your lighting. Different light sources emit different color temperatures, which can affect how colors appear in your photos. For consistency, try to stick to one light source, whether it’s daylight, tungsten, or LED lights. Using a color checker can also help ensure that your colors remain true to life, giving your customers a reliable portrayal of your product.
Lastly, don’t underestimate the power of lighting setup.A well-thought-out arrangement can dramatically enhance your images. Consider creating a lighting diagram to help visualize your setup. Below is a simple table outlining various lighting setups you can try:
| Setup Type | Light Direction | Effect |
|---|---|---|
| Flat Lay | Directly above | Minimal shadows, clean look |
| Side Lighting | 45-degree angle | Dramatic depth, enhanced textures |
| Backlighting | Behind the product | Glowing effect, highlights openness |
By mastering these lighting secrets, you’ll not only improve the appearance of your product images but also create a cohesive and visually appealing portfolio. Remember, each product may require a unique approach, so don’t hesitate to experiment until you find the perfect lighting setup that showcases your products in the best light possible.
Mastering Angles to Showcase Every Feature of Your Product
When it comes to product photography,the right angles can make all the difference. By strategically positioning your product, you can highlight its best features and create an image that not only captures attention but also conveys the essence of what you’re selling. Here are some tips to help you master angles and elevate your product hero image.
- Find the Right eye Level: Start by photographing your product at eye level. This angle allows potential customers to connect with the item as if they were interacting with it in real life. It creates a sense of intimacy and helps them visualize how they might use the product.
- Experiment with Angled Shots: Instead of just shooting from the front, consider capturing your product from various angles. Side views, 45-degree angles, and even overhead shots can reveal different aspects and dimensions, showcasing the item in a more dynamic way.
- Highlight Unique Features: If your product has special attributes,like intricate details or unique textures,make sure to capture those up close. Use macro lenses or zoom features to get those details crisp and clear, drawing attention to what sets your product apart.
Lighting plays a crucial role in how angles are perceived. Natural light is often your best friend—soft, diffused light can reduce harsh shadows and highlight the product’s true colors. Position your product near a window or use softboxes to create a balanced lighting setup that enhances the features you want to showcase.
Lastly, consider the background and context of your shot. A clean, uncluttered background can help your product stand out, while a contextual setup can tell a story. For example, if you’re selling kitchenware, include ingredients or other relevant items to create a lifestyle image that resonates with potential buyers.
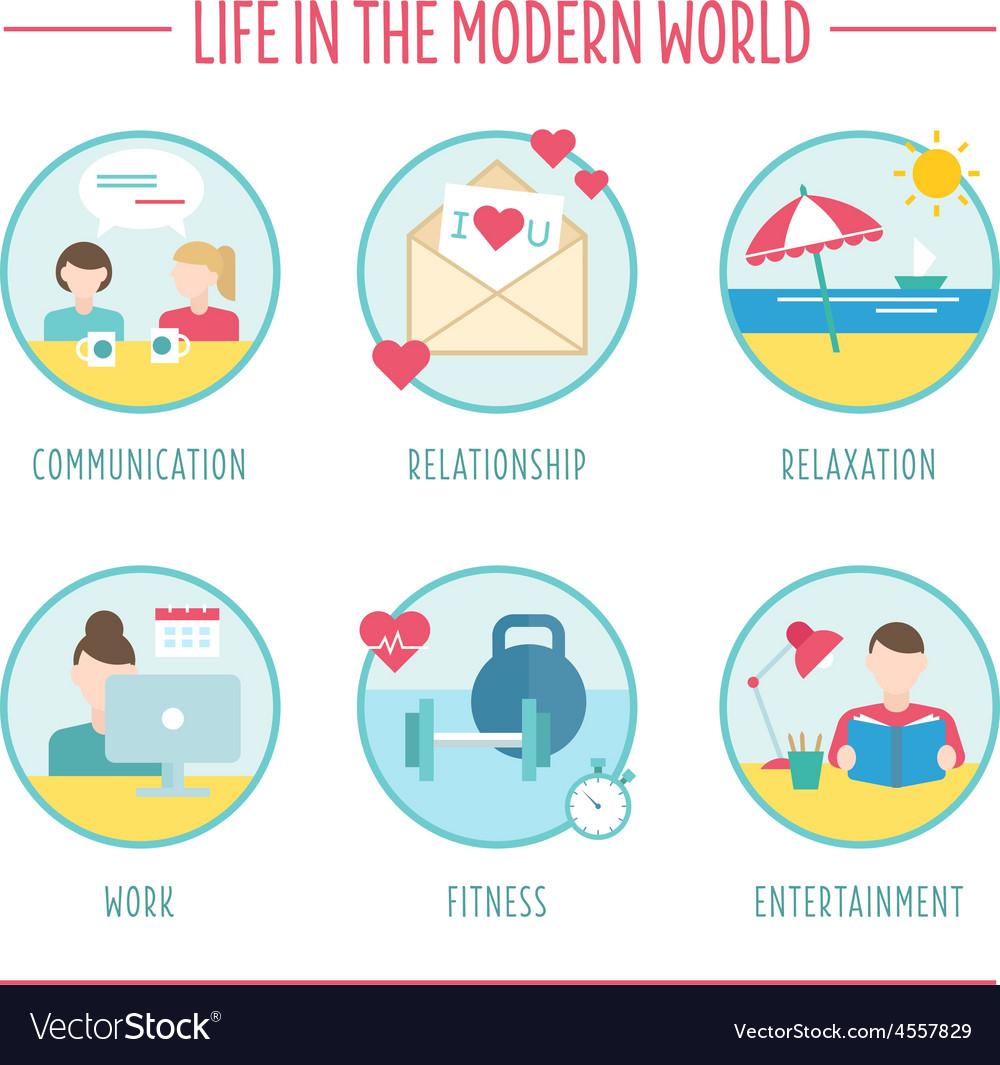
Incorporating Lifestyle Elements for Emotional Connection
To truly resonate with your audience, you need to elevate your product images beyond mere visuals. Infusing lifestyle elements into your hero images can create an emotional connection that drives engagement and conversion. Think about the story you want to tell and how your product fits into the lifestyle of your target market.
Here are some effective strategies to incorporate lifestyle elements:
- Show Real-Life Usage: Capture your product in action within a relatable setting. As an example, if you’re selling kitchen gadgets, portray them in a warm, inviting kitchen where a family is cooking together.
- Feature Peopel: Include diverse individuals using your product. This not only humanizes your brand but also allows potential customers to envision themselves enjoying the benefits of your product.
- Create Aspirational Scenarios: Use imagery that evokes a desired lifestyle. If your product promotes relaxation, showcase it in a serene setting, like a cozy reading nook or a tranquil spa.
- Leverage Color Psychology: Choose colors that evoke the right emotions related to your product. Warm tones can create feelings of comfort, while vibrant shades can inspire excitement and energy.
Integrating these lifestyle elements helps build a narrative around your product, making it more than just an item for sale. Consider creating a visual story that aligns with your brand’s identity and values.
| Element | Emotional Impact |
|---|---|
| Real-Life Usage | Relatability |
| People Interaction | Connection |
| Aspirational Scenarios | Inspiration |
| Color Choices | Emotion |
Ultimately, the goal is to create a moment that speaks to your audience on a personal level. When they can see themselves in your imagery,they are more likely to engage,share,and ultimately purchase your product. remember, it’s not just about showcasing what you sell; it’s about illustrating how it enhances lives.
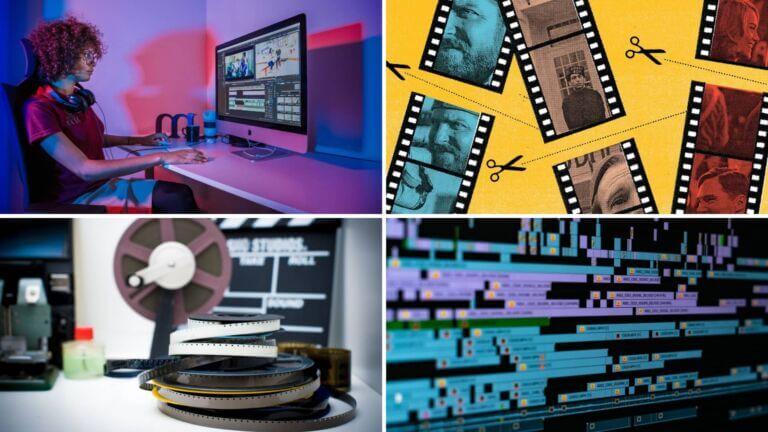
Editing Techniques That Perfect Your Product Image
When it comes to creating an eye-catching product hero image,the editing techniques you employ can make all the difference in grabbing your audience’s attention.Here are some essential methods to enhance your product images effectively:
- Adjust contrast and Brightness: Fine-tuning the contrast and brightness can breathe life into your images. A well-balanced image helps your product stand out, making it more appealing to your potential customers.
- Color Correction: Ensuring your product colors are accurate and vibrant is crucial. Use tools like color balance and saturation adjustments to make your product pop without distorting its true colors.
- Crop and align: A clean crop can focus attention on the product itself. Align your product centrally or use the rule of thirds for a balanced composition that is visually pleasing.
- Background Removal: A simple, clean background can elevate your product’s appearance. Tools like the magic wand or lasso can definitely help isolate your product, allowing you to replace distracting backgrounds with something more fitting.
- Shadow and Reflection Effects: Adding subtle shadows or reflections can create depth and realism, helping your product to appear more three-dimensional and tangible.
After applying these editing techniques, it’s beneficial to perform a final check. This ensures that your hero image reflects your product accurately while also being visually appealing. Consider sharing your edited image with a colleague or friend for feedback before making it live.
| Editing Technique | Benefit |
|---|---|
| Contrast & Brightness | Enhances visual appeal |
| Color Correction | Accurate product representation |
| Crop & Align | Improves focus on the product |
| Background Removal | Eliminates distractions |
| Shadow Effects | Adds depth and realism |
mastering these editing techniques is essential for crafting the perfect product hero image. The time and effort you invest in refining your images will pay off, as they can significantly influence the customer’s buying decision. Remember, your image is often the first interaction a consumer has with your brand—make it memorable!

Testing Your Hero Image for Maximum Impact
testing your hero image is an essential step in ensuring it resonates with your audience and drives conversions. Start by gathering a selection of different images that showcase your product in various environments or contexts. Consider the following aspects when selecting your images:
- Product Features: Highlight unique features or benefits.
- Contextual Relevance: Show the product in use, enhancing relatability.
- Aesthetic Appeal: Ensure images are visually striking and professional.
Once you have a set of images, employ A/B testing to determine which one performs best. Create two versions of your landing page, each featuring a different hero image, and then track key performance indicators such as:
| Metric | Version A | Version B |
|---|---|---|
| Click-Through Rate (CTR) | 3.5% | 4.2% |
| Conversion Rate | 1.2% | 1.8% |
| Time on Page | 1m 30s | 2m 10s |
Analyze the data to identify which image captivates your audience more effectively. Consider running the tests over a sufficient duration to account for fluctuations in traffic and user behavior. Additionally, ensure that your testing conditions remain consistent, using the same audience segments and traffic sources for both versions.
gather qualitative feedback through surveys or user testing sessions. Ask your audience about their emotional responses to each image. Questions like “What thoughts does this product evoke?” or “how does this image make you feel about the product?” can provide invaluable insights that numbers alone may not reveal.
By combining quantitative data from A/B testing with qualitative feedback, you’ll be well-equipped to choose a hero image that not only looks great but also drives engagement and increases your conversion rates. Remember,the goal is to create a visual representation of your product that speaks to your target audience’s needs and aspirations.
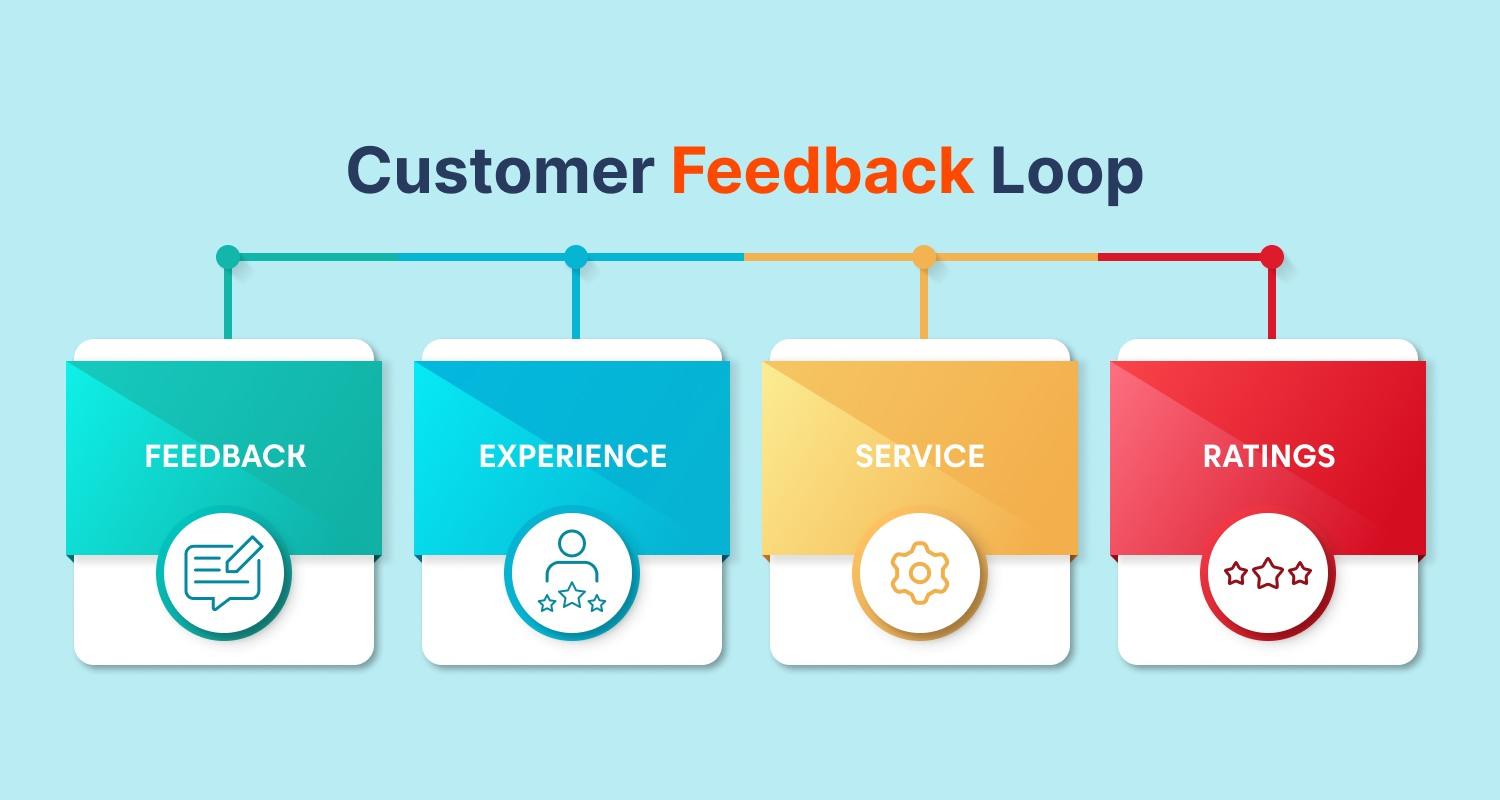
Leveraging Customer Feedback to Optimize Your Visuals
Customer feedback is a goldmine for optimizing your visuals, especially when it comes to creating the perfect product hero image. By actively listening to what your audience has to say, you can make informed adjustments that not only enhance your image but also resonate with potential buyers. Here are some effective strategies to harness this valuable input:
- Conduct Surveys: Use short, engaging surveys to ask customers what they think about the visuals on your website. Focus on aspects like clarity, emotional impact, and relevance to their needs.
- Utilize Social Proof: Look at comments and reviews on social media platforms. Customers frequently enough share what they love or dislike about visuals, giving you direct insight into their preferences.
- A/B Testing: Implement A/B tests with different hero images. Share the results with your audience to gather feedback on which resonates more. This data-backed approach will help you refine your visuals further.
Creating a seamless feedback loop with your customers is essential. Consider setting up a platform where they can easily submit their thoughts or suggestions regarding your visuals. This active engagement not only fosters loyalty but can also lead to innovative ideas that you may not have considered.When customers feel valued and heard, they’re more likely to advocate for your brand.
Moreover, tracking visual performance metrics can provide quantitative data to complement qualitative feedback. Use tools like heatmaps and conversion tracking to see how users interact with your images. Identify patterns in engagement, such as which visuals lead to higher click-through rates or longer time spent on a page. Combining this data with customer feedback creates a extensive picture of what works and what doesn’t.
| Visual Element | Customer Feedback | Actionable Insight |
|---|---|---|
| color Scheme | “The colors are too dull!” | Experiment with brighter tones. |
| Image Quality | “It looks pixelated on mobile.” | Update to high-resolution images. |
| Text Overlay | “I can’t read the text!” | Choose more contrasting colors. |
Incorporating customer feedback into your visual strategy not only elevates the quality of your product hero image but also builds trust and connection with your audience. Remember, the goal is to create visuals that not only attract attention but also convert viewers into loyal customers.By continually refining your approach based on feedback, you can ensure your visuals evolve alongside your audience’s preferences.

Using A/B Testing to Find Your Ideal Product Hero Image
When it comes to selecting the perfect hero image for your product, A/B testing is your secret weapon.This method involves comparing two or more variations of your hero image to see which one resonates more with your audience. The beauty of A/B testing lies in its simplicity and effectiveness, allowing you to make data-driven decisions that enhance user engagement and conversion rates.
To embark on your A/B testing journey, start by defining what you want to measure. Here are a few key performance indicators (KPIs) you might consider:
- Click-through Rate (CTR): How many visitors click through to your product page?
- Conversion Rate: What percentage of visitors make a purchase after viewing the image?
- Engagement Metrics: Are visitors spending more time on your site with one image over another?
Once you identify your KPIs, it’s time to create variations of your hero image. This could involve changes in:
- Color Schemes: Different colors can evoke various emotions and reactions.
- Image Style: Try using lifestyle images versus product-only shots.
- Text Overlays: Adjust the messaging or call-to-action to find out what works best.
After setting up your images, utilize a reliable A/B testing tool to run your experiment.Ensure that you have a sufficient sample size to achieve statistically significant results. This could take anywhere from a few days to a couple of weeks, depending on your website traffic. Monitor your KPIs closely during this period to gather valuable insights.
once your test concludes,analyze the data to determine which hero image outperformed the others. Don’t just focus on the immediate metrics; also consider customer feedback and behavioral trends. With this facts in hand, you can confidently choose the hero image that not only captures attention but also drives conversions.
final Touches That Make Your Product Irresistible
when it comes to product presentation, the final touches can be the difference between a customer scrolling past and one clicking “add to cart.” to elevate your product hero image,focus on a few key elements that enhance its appeal and effectiveness.
- Lighting: Use natural light whenever possible to create a warm and inviting atmosphere. Avoid harsh shadows and overly bright areas, which can distract from the product itself.
- Background: choose a background that complements but doesn’t overpower your product. Soft, neutral colors often work best, allowing the product to take centre stage.
- Contextualization: show your product in use. Lifestyle images that depict real-life scenarios can help customers visualize themselves using the product,making it more relatable and desirable.
Additionally, consider adding subtle elements that convey your brand’s identity. A consistent color palette or a recurring motif can definitely help reinforce brand recognition. For instance, if your brand is known for its eco-friendly products, incorporating natural textures like wood or stone in the background can enhance that message.
Don’t underestimate the power of editing. A well-edited image can bring out the best features of your product. Focus on:
| Editing Aspect | Purpose |
|---|---|
| Color Correction | Ensures colors are true to life and vibrant. |
| Sharpness | Enhances details and overall clarity. |
| background Removal | Focuses attention solely on the product. |
Lastly, don’t forget about the size and resolution of your images. Ensure that your hero images are high-resolution and optimized for web use.Large, crisp images can significantly improve customer perception and engagement. When your images look professional, your product seems more trustworthy and appealing.
Frequently Asked Questions (FAQ)
Q&A: 5 Required Steps for the Perfect Product Hero Image
Q: Why is a hero image so important for my product?
A: Great question! A hero image is often the first thing a customer sees, and it sets the tone for their entire shopping experience. It’s your chance to make a stunning first impression, showcase your product’s best features, and convey your brand’s message.A captivating hero image can significantly increase conversions by drawing customers in and making them want to learn more.
Q: What’s the first step in creating the perfect hero image?
A: The first step is to understand your target audience. Ask yourself: What do they value? What catches their eye? This understanding will guide your styling,background,and overall vibe of the image. Tailoring your hero image to resonate with your audience can make all the difference in capturing their attention.Q: After I know my audience, what should I focus on next?
A: The next step is to select the right angle and lighting. Natural light frequently enough works wonders, highlighting your product’s features beautifully. Experiment with different angles to find the most flattering perspective. Remember, the goal is to showcase your product in the best light—quite literally!
Q: I’ve got my lighting and angle down. What comes after that?
A: Now,it’s all about the background and surroundings! A clean,uncluttered background can help your product stand out. Consider using colors or textures that complement your product. Props can also add context—just ensure they enhance the image rather than distract from your product.
Q: What about editing? Should I invest time in that?
A: Absolutely! Editing is crucial for achieving that polished look. Use editing software to adjust brightness, contrast, and colors. You want the image to be vibrant but true to life. A well-edited image can elevate your product,making it more appealing and professional.
Q: Any final tips for someone aiming to create the perfect hero image?
A: Definitely! consistency is key.Ensure that your hero image aligns with your brand style and is coherent with other images in your product line. And don’t forget to test different versions! Gather feedback and see which images perform better. Continuous improvement will help you refine your approach and ultimately boost your sales.
Q: How quickly can I expect results after implementing these steps?
A: While results can vary, many businesses notice an uptick in engagement and sales shortly after updating their hero images. With the right strategy and a bit of trial and error, you’ll be on your way to a more visually appealing product presentation that resonates with customers.
Q: Is it worth investing in a professional photographer for my hero images?
A: If your budget allows, yes! A professional photographer brings expertise in lighting, composition, and editing that can take your images to the next level. If that’s not feasible, just remember that with the right tools and knowlege, you can create stunning images yourself. The key is to be intentional and put in the effort!
By following these steps, you’ll be well on your way to creating the perfect product hero image that captures attention and drives sales. Happy shooting!
In Summary
As we wrap up our journey through the five essential steps for crafting the perfect product hero image, let’s take a moment to reflect on the power of visuals in shaping customer perception.Your product deserves to shine,and a captivating hero image is your best ally in making that happen. Remember, it’s not just about looking good; it’s about telling a story that resonates with your audience, increasing conversions, and building trust with your brand.
So, go ahead and put these steps into action! Make sure your images are vibrant, authentic, and strategically aligned with your brand message. Whether you’re tweaking an existing image or starting from scratch, each adjustment you make can significantly enhance how potential customers perceive your product.
Now, it’s your turn! Dive into your product photography, experiment with these techniques, and watch your sales soar. Don’t forget, the right image can speak volumes, so let your product shine like the hero it truly is! If you have any tips or experiences to share, we’d love to hear from you in the comments below. Happy shooting!