Are you tired of the same old fonts that come with your WordPress theme? Want to make your website stand out and reflect your unique brand personality? You’re in the right place! Custom fonts can breathe new life into your site, enhancing its aesthetic and making your content more engaging. Whether you’re a blogger, a business owner, or a creative professional, the right typography can elevate your message and captivate your audience. In this article, we’ll explore four easy methods to add custom fonts to your WordPress site. No coding experience? No problem! We’ll guide you step-by-step, so you can choose the perfect font that resonates with your vision. Let’s dive in and transform your website into a stunning showcase of your style!
Understanding the Importance of Custom Fonts for Your Brand
When it comes to building a memorable brand,custom fonts play an essential role in establishing your unique identity. Fonts are more than just letters on a page; they evoke emotions and convey messages about your business. By carefully selecting the right typeface, you can communicate your brand’s personality and values effectively.
One significant advantage of using custom fonts is the ability to enhance readability and user experience. A well-chosen font can make your content easier to read, thereby keeping visitors engaged. For example, a clean, sans-serif font might be perfect for modern tech brands, while a classic serif font could appeal to more conventional audiences. consider the following points:
- Brand Recognition: Custom fonts help set your brand apart from competitors.
- Emotional Impact: Fonts can evoke feelings; choose one that resonates with your audience.
- Consistency: Using the same font across platforms creates a cohesive brand image.
Moreover, the use of custom fonts can significantly contribute to your website’s aesthetics.A visually appealing site not only captures attention but also builds trust with your audience. Visitors are more likely to stay longer and explore your content when your site looks polished and professional. This is where styling through CSS for your WordPress site becomes crucial. It allows you to integrate custom fonts seamlessly, enhancing both look and feel.
Here’s a fast comparison of popular font types and their best use cases:
| Font Type | Best Use Cases |
|---|---|
| Serif | Blogs,Financial Institutions,Law Firms |
| Sans-Serif | Tech Companies,Startups,Creative Agencies |
| Script | Wedding Planners,Boutique Shops,Artistic Brands |
| Display | Posters,Headlines,ad Campaigns |
Incorporating custom fonts into your wordpress site can yield remarkable results,from improving brand visibility to enhancing user experience.By investing time in selecting the right fonts, you not only elevate your website’s design but also contribute to a stronger, more recognizable brand. Remember, each choice you make in your branding journey matters, and fonts are a foundational piece of that puzzle.

Exploring different Methods to Add Custom Fonts to WordPress
When it comes to enhancing the visual appeal of your WordPress site, choosing the right fonts can make a significant difference. There are several methods to introduce custom fonts, each offering unique advantages depending on your technical comfort level and design goals. Below, we explore a few popular methods to help you seamlessly integrate custom typography into your website.
1.Using a Plugin
One of the simplest ways to add custom fonts is by utilizing a plugin. This method is especially appealing for non-developers, as it requires minimal coding knowledge. Popular plugins like Easy Google Fonts or Use Any Font allow you to easily select and apply fonts directly from the WordPress Customizer.
- Easy Google Fonts: Access a vast library of Google Fonts.
- Use Any Font: Upload your own fonts in various formats.
2. Adding Fonts via @font-face
If you prefer a more hands-on approach, using the @font-face rule in your stylesheet is a powerful method. This allows you to host the font files on your server, giving you complete control. Here’s a simple example:
@font-face {
    font-family: 'MyCustomFont';
    src: url('fonts/MyCustomFont.woff2') format('woff2'),
         url('fonts/MyCustomFont.woff') format('woff');
    font-weight: normal;
    font-style: normal;
}
Once you define the font, you can apply it throughout your site with CSS:
body {
    font-family: 'MyCustomFont', sans-serif;
}
3. Google Fonts Integration
Google Fonts provides an extensive collection that can be easily integrated into your WordPress theme. To do this, simply:
- Choose a font from the Google Fonts library.
- copy the provided
tag. - paste it into the
section of your theme’s header file (header.php).
Then, use CSS to style your elements with the selected font.
4. Using a Child Theme
For those who are a bit more advanced, creating a child theme is a fantastic option. This method helps preserve your customizations even if the parent theme is updated. In your child theme’s style.css, you can either link to external fonts or define your own using @font-face. Here’s a quick overview:
| Step | Description |
|---|---|
| Create a Child Theme | Set up a new folder and style.css file. |
| Add custom Fonts | Use @font-face or link to external sources. |
| Activate Your Child Theme | Go to WordPress dashboard to activate. |
By exploring these diverse approaches, you can discover which method suits your workflow best. Whichever route you choose, adding custom fonts is an effective way to showcase your brand’s identity and improve user experience on your WordPress site.
Choosing the Right Font: tips for enhancing Your Sites Aesthetic
When selecting a font for your WordPress site, it’s essential to consider not just aesthetics but also how the chosen typeface impacts readability and user experience. A well-chosen font can enhance your brand’s identity, communicate your message effectively, and engage your visitors. Here are some tips for making the right choice:
- Know Your Audience: Different fonts appeal to different demographics. Consider your target audience’s preferences and expectations. As an example, a playful font may resonate with a younger crowd, while a classic serif may appeal to a more traditional audience.
- Match the Mood: The tone of your content should dictate your font selection. If your site is about finance or law, go for professional, clean fonts. For creative or personal blogs, you might opt for something more whimsical.
- Prioritize Readability: While decorative fonts can be eye-catching, ensure they don’t compromise readability. Stick to fonts that are easy to read across various devices and sizes—especially for body text.
- Limit Your Selection: Too many different fonts can create visual clutter. Aim for a maximum of three complementary fonts—one for headings, one for body text, and perhaps a third for accents or quotes.
To help visualize your choices, consider creating a font pairing table that outlines potential combinations. Here’s a simple example:
| Font Pairing | Recommended Use |
|---|---|
| Montserrat & Open Sans | Modern and sleek for tech-related sites |
| Playfair Display & Source Sans Pro | Elegant for lifestyle or fashion blogs |
| Lora & Roboto | Classic meets contemporary for portfolio sites |
once you’ve chosen your fonts, it’s crucial to integrate them seamlessly into your site layout. Make use of CSS to adjust sizes, line spacing, and letter spacing. These adjustments can significantly improve the overall look and feel. For example, setting the line-height to 1.5 can make your text more readable.
Lastly, don’t forget about performance. Custom fonts can increase load times,particularly if you’re using multiple styles or weights. ensure that your chosen methods for adding fonts to WordPress are optimized for speed. consider using web-safe fonts where possible and test your site’s performance routinely to ensure a smooth user experience.
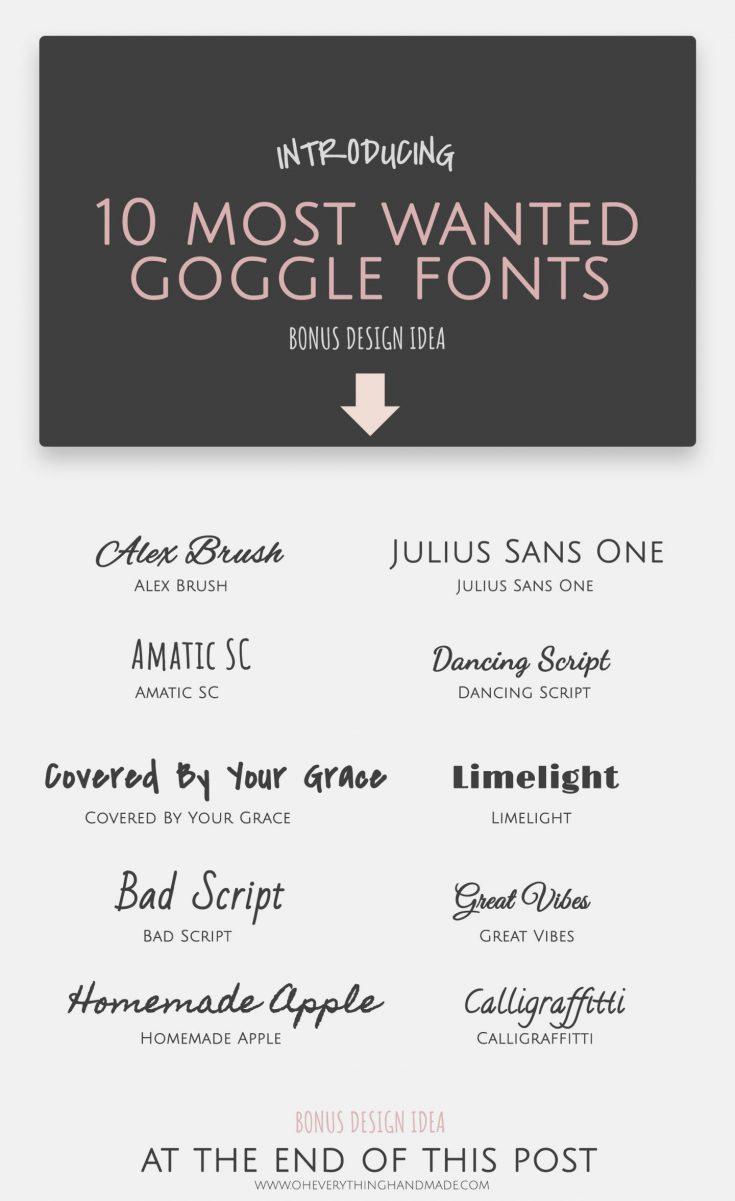
Using Google Fonts: A Simple and Effective Method
Using Google Fonts on your WordPress site is not only straightforward but also enhances your website’s aesthetics. By leveraging Google Fonts, you can access a vast library of typography options that can elevate your brand’s personality. Here’s how to seamlessly integrate these fonts into your WordPress theme.
First, you need to choose your desired fonts from the Google Fonts library. Browse through the extensive collection and pick a font that resonates with your site’s theme.Once you’ve made your selection, follow these steps to add it to your site:
- Copy the embed link: After selecting your font, click on it to reveal the details. You’ll find an option to copy the embed code.
- access your WordPress dashboard: Navigate to Appearance > Theme Editor.
- Include the font in your theme: Paste the embed link within the
section of yourheader.phpfile.
To apply the font to specific elements on your site, you’ll need to use CSS. Here’s a quick example of how to do this:
body {
    font-family: 'Your Chosen Font', sans-serif;
}
Additionally, you can create a table to showcase various font styles you might consider using. Below is a simple example of how to display this facts:
| Font Name | Usage Example |
|---|---|
| Roboto | This is a sample text in Roboto. |
| Lora | This is a sample text in Lora. |
| Open Sans | This is a sample text in Open Sans. |
Once you’ve added your fonts and CSS, make sure to check how they render across different devices. A well-chosen font can significantly impact user experience, so take the time to experiment with various styles until you find the perfect match for your site’s vibe. Start enhancing your WordPress site now with the power of Google fonts!
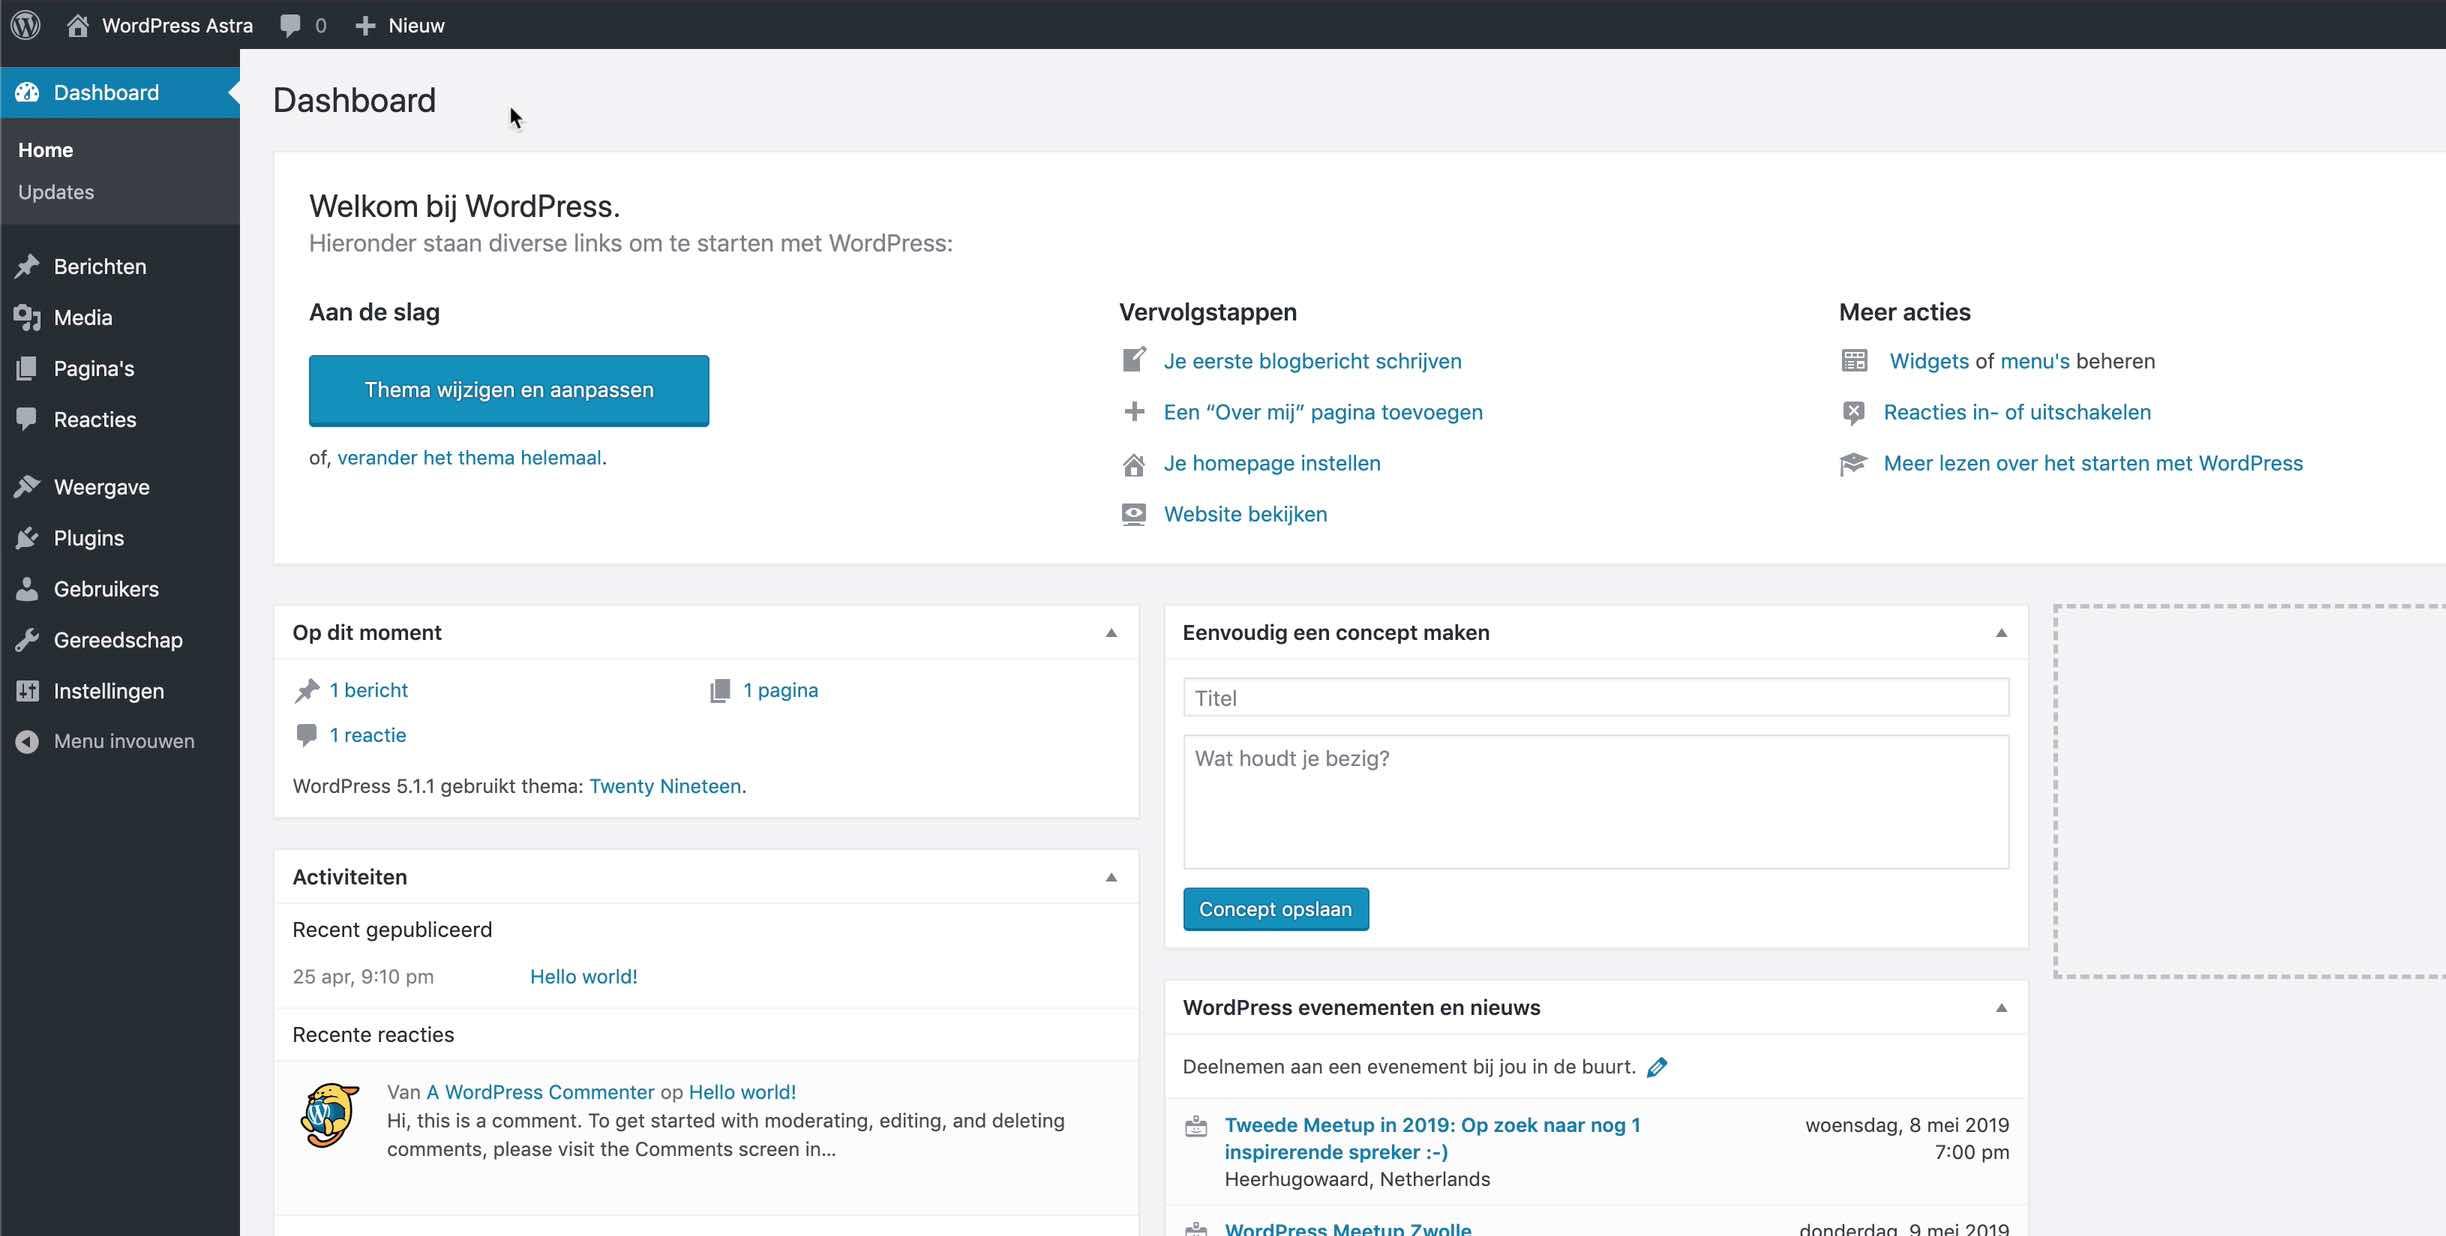
Uploading Custom Fonts via WordPress Theme Customizer
If your WordPress theme supports the Customizer,adding custom fonts can be a breeze! This method allows you to personalize your site’s typography without diving into the code. Here’s how you can seamlessly upload custom fonts via the WordPress Theme Customizer.
First, navigate to your WordPress dashboard and go to Appearance > Customize. Look for a section that allows you to edit typography or fonts. Depending on your theme, this may be labeled differently, such as Typography, Fonts, or even Design Options.
Once you’re in the typography settings, check if there’s an option to upload custom fonts. Many modern themes come equipped with this feature, allowing you to easily add font files directly. You’ll typically need to upload files in formats like .woff, .woff2,.ttf, or .svg. Here’s a quick list of the common font formats:
- .woff – Web Open Font format
- .woff2 - Compressed version of WOFF
- .ttf – TrueType Font
- .svg – Scalable Vector Graphics font
After uploading your desired font files, you’ll likely see them listed in the customizer. simply select the new font for various elements of your website, such as headings, paragraphs, and buttons. Don’t forget to preview the changes before saving! This step ensures that your site maintains overall readability and aesthetics.
If your theme does not support direct font uploads, consider using a plugin that integrates with the Customizer. Plugins like Easy Google Fonts or Custom Fonts can enhance your customization experience, enabling you to add fonts from popular libraries without any hassle.

Leveraging Plugins for Easy Font Integration
Integrating custom fonts into your WordPress site can be a breeze, especially when you use the right plugins. With a plethora of options available, leveraging these tools allows you to enhance your site’s typography without diving into complex code. Here’s how you can smoothly add unique fonts using plugins.
Font plugins typically streamline the process of font integration, offering a user-kind interface that simplifies your design journey. Some of the most popular plugins include:
- Easy Google Fonts: This plugin provides access to a vast library of Google Fonts, allowing you to customize typography directly from the WordPress Customizer.
- Custom Fonts: A flexible solution for adding custom font files, enabling you to upload your own fonts and use them effortlessly across your site.
- WP Google Fonts: A straightforward option that lets you easily add Google Fonts to your site using simple settings.
Most of these plugins come with intuitive interfaces that allow you to see changes in real-time. For instance, with Easy Google Fonts, you can adjust font styles, weights, and sizes while previewing the adjustments directly in the Customizer. This feature alone makes it easier to achieve the perfect aesthetic for your brand.
Furthermore, some plugins offer additional functionalities that cater to specific needs. Here’s a quick comparison table to highlight key features:
| Plugin | Custom Uploads | Live Preview | Library Access |
|---|---|---|---|
| Easy Google Fonts | No | Yes | Extensive |
| Custom Fonts | Yes | No | None |
| WP Google Fonts | No | Yes | Moderate |
When selecting a plugin, consider your unique needs—whether it’s the ability to upload custom fonts or the convenience of live previews. By utilizing these plugins,you not only save time but also enhance your site’s visual appeal,making it more engaging for your visitors. No matter your skill level, these tools empower you to take control of your site’s typography with ease.
Implementing @font-face in Your CSS for Advanced Users
One of the most powerful methods to enhance your website’s typography is by using the @font-face rule in your CSS. This technique allows you to load custom fonts directly from your server or from a third-party service. Here’s a step-by-step guide to implementing it effectively.
First, you’ll need to obtain the font files you wish to use. Make sure to have the necessary font formats for cross-browser compatibility. The most common formats include:
- WOFF – Widely supported and compressed.
- TTF – TrueType font, good for legacy browsers.
- EOT – Embedded OpenType, primarily for Internet Explorer.
- SVG – Useful for older iOS devices.
Once you have your font files, upload them to your WordPress theme directory, preferably in a subfolder named fonts. Then, you can use the @font-face rule in your stylesheet like so:
@font-face {
    font-family: 'CustomFont';
    src: url('fonts/customfont.woff2') format('woff2'),
         url('fonts/customfont.woff') format('woff'),
         url('fonts/customfont.ttf') format('truetype');
    font-weight: normal;
    font-style: normal;
}
After declaring the font, you can easily apply it to your website’s elements. Here’s an example of how to implement it in your CSS:
body {
    font-family: 'CustomFont', sans-serif;
}
h1, h2, h3 {
    font-family: 'CustomFont', serif;
}
For better organization, consider creating a simple table to document your custom fonts and their respective styles.Here’s a quick example:
| Font Name | Usage | File Format |
|---|---|---|
| CustomFont | Body Text | WOFF, TTF |
| HeaderFont | Headings | WOFF2, SVG |
By following these steps, you can successfully implement custom fonts on your WordPress site, elevating the aesthetic appeal and user experience. Remember to test your site on different browsers to ensure the fonts render correctly for all users.

Testing and Optimizing Your Custom Fonts for Performance
Once you’ve added custom fonts to your WordPress site, it’s crucial to ensure they perform optimally. poorly optimized fonts can lead to slower loading times and a less-than-stellar user experience. Here are several strategies to test and optimize your custom fonts effectively:
- Use Font Loading Strategies: Implement strategies such as
font-display: swap;in your CSS to prevent font loading from blocking rendering. This ensures that your text is visible even if the custom font hasn’t loaded yet. - Limit Font Weights and Styles: Only include the font weights and styles you need. If your design only requires regular and bold, avoid loading italic or other variations. This reduces the amount of data your site needs to load.
- Leverage Browser Caching: Set up caching rules for your font files. This can be done in your WordPress settings or through a caching plugin, allowing returning visitors to load your site faster.
To test the impact of custom fonts on your site’s performance, consider using tools like Google PageSpeed Insights or GTmetrix.These tools can provide insights into how your fonts are affecting load times and overall site performance:
| tool | Key Features |
|---|---|
| Google PageSpeed Insights | Analyzes performance for mobile and desktop; suggests optimizations. |
| gtmetrix | Provides detailed performance reports; includes waterfall charts. |
| WebPageTest | Offers advanced testing options; allows location-based tests. |
Additionally, consider using a content delivery network (CDN) to serve your fonts.A CDN can decrease load times by caching your font files on multiple servers worldwide,allowing users to download them from a location closer to them.
regularly audit your custom fonts to ensure they remain optimized as your website evolves. Keep an eye on updates,and be willing to adjust your approach as new performance best practices emerge in the digital landscape.
Troubleshooting Common Issues with Custom Fonts
Integrating custom fonts into your WordPress site can significantly enhance its visual appeal. However, you might encounter a few common issues along the way. Here are some troubleshooting tips to help you resolve these problems efficiently.
Font Not Displaying Correctly: If your custom font isn’t showing up, there could be a few reasons for this. first,double-check that the font files are correctly uploaded to your server.Ensure that the font formats you are using (such as.woff, .ttf, etc.) are supported by the browsers you are targeting. You can use a tool like Can I Use to verify font format compatibility.
CSS Issues: Sometimes, the custom font might not render due to CSS conflicts. Inspect your theme’s stylesheet for any overrides. Make sure that the font family declaration is correctly applied to the right selectors.You can add a simple CSS rule like this:
.custom-font { font-family: 'YourCustomFont', sans-serif; }Also, check if there are inline styles or more specific selectors that could be preventing the font from displaying properly.
Browser Cache Problems: After making changes, your browser may still display cached versions of your site. To fix this, clear your browser’s cache or test your site in an incognito window. Additionally, consider using a caching plugin in WordPress. Make sure to purge the cache whenever you update your custom font settings.
Font Loading Issues: If the font is slow to load, it may affect your site’s performance. To optimize loading times, consider using a font loading strategy like font-display: swap. This will allow the text to be displayed using a fallback font until the custom font is fully loaded:
@font-face {
    font-family: 'YourCustomFont';
    src: url('path/to/font.woff2') format('woff2');
    font-display: swap;
}
By addressing these common issues,you can ensure that your custom fonts enhance the user experience rather than detract from it. Regularly check your site across different devices and browsers to confirm that everything appears as intended.
Final Thoughts: Elevating Your WordPress Site with Custom Typography
Choosing the right typography for your WordPress site is more than just a design choice; it’s about enhancing user experience and conveying your brand’s personality. Custom fonts can significantly impact how visitors perceive your content, making it more engaging and readable. With a little effort, you can transform the look and feel of your website by integrating unique typefaces that align with your brand identity.
Here are some reasons why you should consider elevating your site with custom fonts:
- Enhanced Readability: Custom fonts are frequently enough designed with clarity in mind, improving the overall legibility of your content.
- Brand Differentiation: Unique typography sets your site apart from competitors,contributing to a memorable brand experience.
- Emotional Resonance: Fonts evoke emotions and can influence how users feel about your content, helping to create a deeper connection.
When implementing custom fonts, it’s essential to consider performance. Fonts can affect loading times, which can lead to higher bounce rates if not handled carefully. Optimize your font choices by selecting only the weights and styles you need, and consider using a font-display property in your CSS to ensure a smooth loading experience. Here’s a quick example:
body {
    font-family: 'YourCustomFont',sans-serif;
    font-display: swap;
}
Additionally,keep in mind the importance of accessibility. Using a font that is easy to read for all users, including those with visual impairments, should be a priority. Tools like WCAG Guidelines can definitely help you choose fonts that enhance accessibility without compromising your design aspirations.
leveraging custom typography is a powerful way to amplify your WordPress site’s appeal. By selecting the right fonts, optimizing for performance, and being mindful of accessibility, you can create a visually stunning and user-friendly experience that resonates with your audience. Now is the time to experiment with different typefaces and see how they can transform your online presence.
Frequently Asked Questions (FAQ)
Q&A: How to add Custom Fonts to Your WordPress Site (4 Methods)
Q: Why should I consider adding custom fonts to my WordPress site?
A: Adding custom fonts can significantly enhance the visual appeal of your site.They help establish your brand identity, improve readability, and can even lead to better user engagement. In a world where first impressions count, a unique font can make your site stand out from the competition!
Q: What methods can I use to add custom fonts to my wordpress site?
A: Great question! There are four popular methods to add custom fonts: using a plugin, directly through your theme’s customizer, by editing your theme’s CSS, or by uploading the font files directly to your server. Each method has its advantages depending on your technical skills and what you’re agreeable with.
Q: What’s the easiest method for beginners?
A: If you’re new to WordPress, using a plugin is the easiest and most user-friendly way to add custom fonts. Plugins like “Easy Google Fonts” or “Custom Fonts” allow you to easily integrate a wide variety of fonts without touching any code. Plus, they ofen have a live preview feature so you can see how your fonts look in real time!
Q: Can I add custom fonts without a plugin?
A: Absolutely! If you prefer not to use a plugin, you can also add custom fonts through your theme’s customizer. Many themes come with built-in options for selecting fonts from Google Fonts. Just head over to “Appearance” > “Customize” and look for typography settings. It’s a simple way to give your site a fresh look without extra tools!
Q: I’m comfortable with code. how can I add custom fonts via CSS?
A: If you’re up for a little coding, you can add custom fonts by inserting CSS rules.First, upload your font files to the server, then use the @font-face rule in your theme’s style.css file to define the font. This method gives you full control over how fonts are displayed, but be sure to back up your site before making changes!
Q: What about uploading font files directly? Is that a good option?
A: Yes, uploading font files directly can be a great option if you have specific fonts you want to use that aren’t available through Google Fonts. just make sure you have the right licenses for those fonts. Once uploaded, you can use the @font-face rule in your CSS to implement them. It’s a bit more technical but definitely rewarding!
Q: Are there any potential downsides to adding custom fonts?
A: While custom fonts can elevate your design, keep in mind that they can affect your site’s load time if not implemented correctly. Overloading your site with too many font files can slow it down. Always aim for a balance between aesthetics and performance—choose a couple of great fonts instead of many!
Q: What’s the bottom line? Should I add custom fonts to my site?
A: If you want to create a memorable brand experience and enhance the overall user experience, absolutely! Custom fonts can breathe new life into your WordPress site and make it uniquely yours. Just choose the method that fits your skill level and website needs best, and you’ll be on your way to a stunning design in no time!
Concluding Remarks
And there you have it—four fantastic methods to add custom fonts to your WordPress site! Whether you’re a DIY enthusiast or someone who prefers a more straightforward approach, there’s an option here that fits your style. Custom fonts not only enhance the visual appeal of your site but also help establish your brand’s unique voice and personality.
As you explore these methods, remember that the right font can transform your website from ordinary to unusual. So why settle for the standard offerings when you can elevate your site with fonts that truly represent you or your business?
If you haven’t already, give one (or all) of these methods a try. Your visitors will appreciate the fresh look, and you’ll enjoy the satisfaction of creating a site that stands out from the crowd.
Have you added custom fonts to your WordPress site before? We’d love to hear about your experiences or any tips you might have. drop a comment below or share your thoughts! Happy font hunting, and here’s to making your WordPress site uniquely yours!