Are you ready to take your WordPress website to the next level? If you’ve ever felt that twinge of anxiety before making major changes to your site, you’re not alone. Whether you’re updating plugins, tweaking your theme, or testing out new features, the fear of breaking something is all too real. But what if I told you there’s a way to experiment freely without the risk? Enter the WordPress staging site!
In this beginner’s guide,we’re going to walk you through the simple steps to set up your own staging site. Imagine having a safe playground where you can try out new ideas, troubleshoot issues, and perfect your website before unveiling it to the world—all while keeping your live site intact. Sounds pretty great, right? So, grab a cup of coffee, and let’s dive into the world of staging sites. By the end of this article, you’ll have all the tools you need to create a staging environment that empowers you to confidently manage your WordPress site. Ready to get started? Let’s go!
Understanding the Importance of a Staging Site for Your WordPress Project
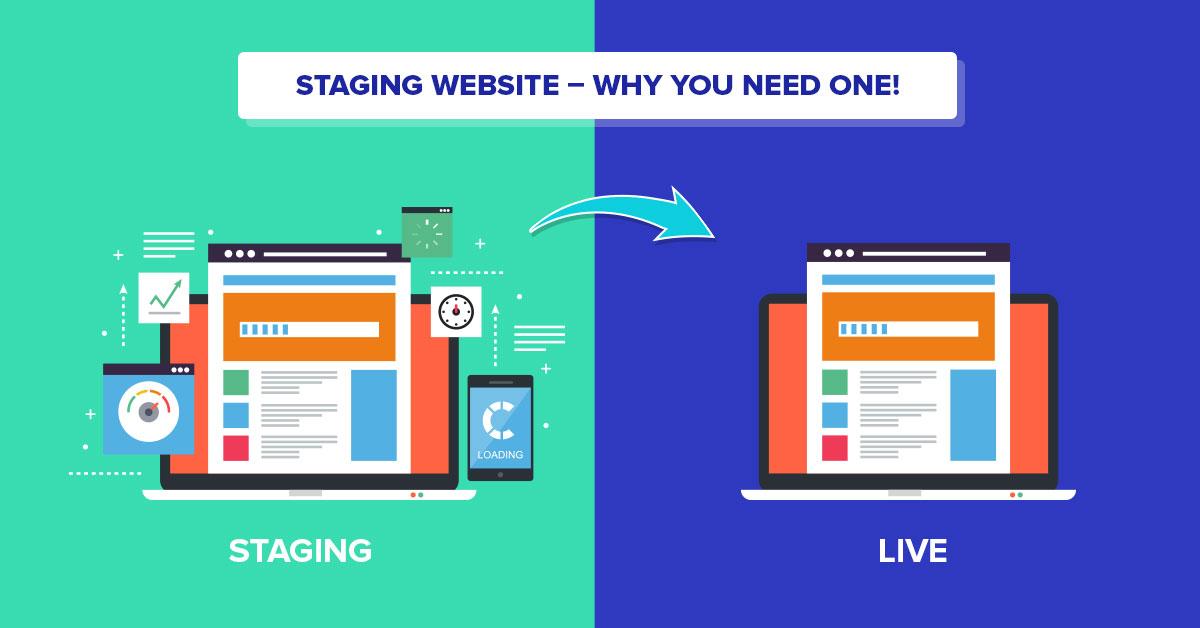
When managing a WordPress project, the meaning of a staging site cannot be overstated. A staging site acts as a safe playground where you can test changes, updates, and new features without impacting your live website. This practice is essential for both novice and experienced developers alike,as it minimizes risks and ensures your site remains functional for visitors.
Consider the following benefits of utilizing a staging site:
- Safe Environment: A staging site allows you to experiment freely without the fear of breaking your live site.
- Testing Updates: wordpress regularly releases updates, and a staging site provides a platform to test these updates before rolling them out to your live site.
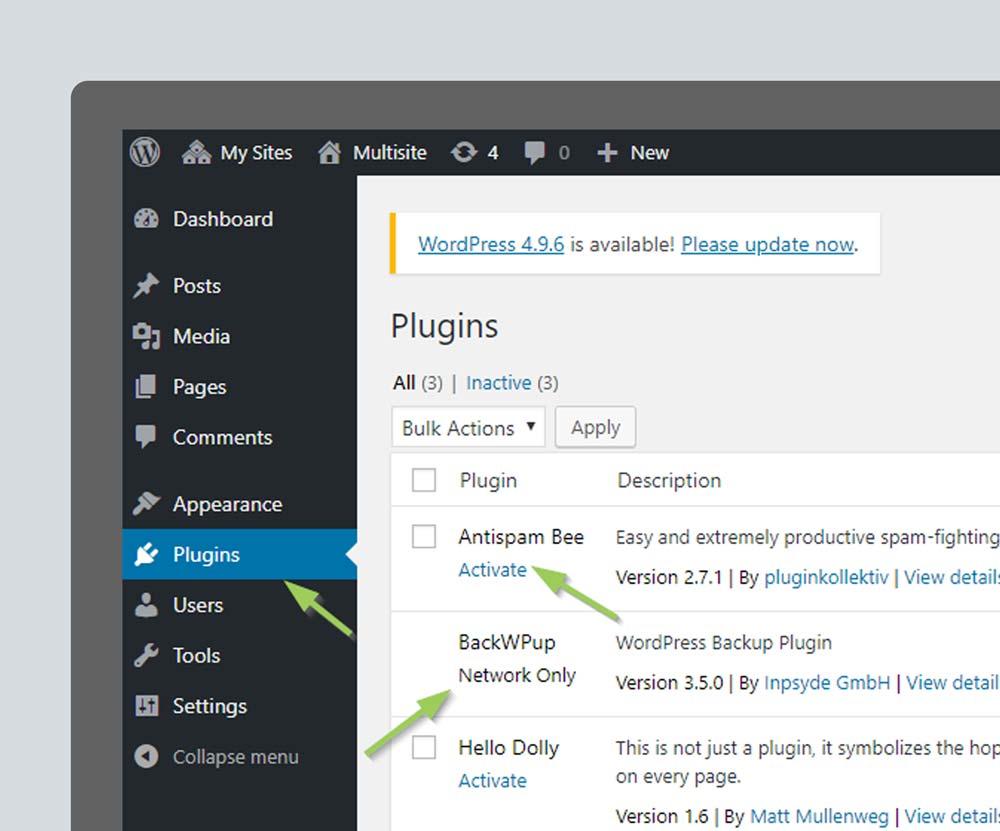
- plugin and Theme Trials: installing and configuring new plugins or themes can sometimes cause compatibility issues; a staging site helps you identify these problems beforehand.
- Error-Free Launches: By troubleshooting potential issues in a staging environment, you can ensure that your final changes are error-free when you go live.
Moreover, having a staging site streamlines collaboration among team members. If you’re working with a group, a staging site allows everyone to test changes and provide feedback without the chaos of altering the live project. It can serve as a central hub for experiments, ensuring that all team members are on the same page.
To give you a clearer understanding, here’s a simple comparison of the risks associated with not using a staging site versus the benefits of implementing one:
| Without Staging Site | With Staging Site |
|---|---|
| High risk of downtime | Minimal risk of downtime |
| Live site can break due to changes | Changes tested in a safe environment |
| Unplanned disruptions for users | Seamless updates for users |
| Frustration and confusion for team members | Clear interaction and collaboration |
the use of a staging site is not merely a recommendation; it’s an essential practice for anyone serious about their WordPress projects. Whether you’re managing a personal blog or a business website, a staging site offers the peace of mind to innovate without the fear of jeopardizing your online presence.
Choosing the Right Hosting Provider for Your Staging Environment
When it comes to setting up a staging environment for your WordPress site, selecting the right hosting provider is crucial. Your staging site needs to mirror your live site as closely as possible, so you want a host that can deliver on performance, security, and reliability. Here’s what to consider:
- Performance: Look for hosting providers that offer optimized servers specifically for wordpress.Fast loading times can dramatically affect your advancement and testing processes.
- Easy setup: Choose a host that provides one-click staging options.This simplifies the process of creating your staging site and allows you to focus on development rather then technical hurdles.
- Backup Solutions: Ensure your provider has robust backup options. Automatic backups can save you from critical issues arising during development.
- Support: Reliable customer support is a must. Responsive technical support will help you quickly resolve any issues that may arise during your development.
- Security Features: Look for hosts that provide strong security measures, including SSL certificates, firewalls, and malware scanning, to protect both your staging and live environments.
To help you further, here’s a simple comparison table of popular hosting providers and their staging features:
| hosting Provider | One-Click Staging | Performance | Customer Support |
|---|---|---|---|
| SiteGround | ✅ | High | 24/7 Chat |
| Bluehost | ✅ | Medium | 24/7 Phone |
| Kinsta | ✅ | Very High | 24/7 Live Chat |
| WP Engine | ✅ | very High | 24/7 Phone & Chat |
Keep in mind that your ideal hosting provider will depend on your specific needs and budget. Take the time to research and compare different options, and don’t hesitate to reach out to their support teams with any questions you may have. By choosing the right hosting provider, you’ll be setting yourself up for a smoother staging process and ultimately a more prosperous website launch.
Step-by-Step Guide to Creating a Staging Site with WordPress
Creating a Staging Site with WordPress
Setting up a staging site is an essential practice for any WordPress user looking to test updates, plugins, or themes without affecting their live site. Follow these simple steps to get your staging environment up and running.
Choose Your Method
There are several methods to create a staging site. Here are a few popular options:
- Hosting Provider tools: Many hosting providers offer one-click staging setups.
- plugins: Various WordPress plugins can simplify the process.
- Manual setup: For those with technical skills, creating a staging site manually is an option.
Using Plugins
One of the easiest methods for beginners is to use a plugin. Here’s how:
- Install a reputable staging plugin such as WP Staging or Duplicator.
- Once installed, navigate to the plugin settings on your dashboard.
- Follow the prompts to create a staging copy of your site.
Manual Staging Site Creation
If you prefer a more hands-on approach, consider setting up a staging site manually:
- Access your hosting control panel (e.g., cPanel).
- Create a new subdomain, such as staging.yourwebsite.com.
- Copy your live site’s files to the new subdomain directory.
- Export your live site’s database and import it into a new database for the staging site.
- Edit the wp-config.php file to connect to the new database.
Essential Considerations
When working with a staging site, remember:
- Always keep your staging site secure to prevent unauthorized access.
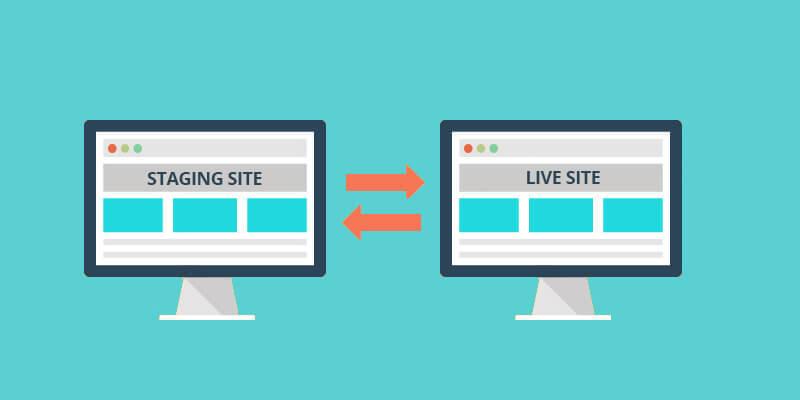
- Regularly sync changes back to your live site after testing.
- Use the staging environment for thorough testing of all modifications.
Fast Comparison Table
| Method | Ease of Use | Best For |
|---|---|---|
| hosting Provider Tools | Very Easy | Beginners |
| Plugins | Easy | Casual users |
| Manual Setup | Advanced | Developers |
Essential Plugins to Enhance Your Staging Experience
Enhancing your staging experience can significantly improve your workflow and ensure a smoother transition from development to live site. Here are some essential plugins that you should consider incorporating into your WordPress staging setup:
- WP Staging: This plugin allows you to create a clone of your entire site with just a click. It’s user-friendly and perfect for beginners looking to test changes without affecting the live site.
- Duplicator: Not only does it help in creating backups, but Duplicator also allows you to migrate your site easily. You can use it to set up a staging site on a subdomain or a local environment.
- WP Rollback: This useful tool allows you to revert to previous versions of your plugins or themes. It’s ideal when testing updates on your staging site before pushing them live.
- BackupBuddy: With its comprehensive backup options, BackupBuddy ensures that you can quickly restore your staging site if something goes wrong. Regular backups are essential for a hassle-free staging experience.
- Query Monitor: For those who want to dive deeper into performance, Query Monitor provides insights into database queries, PHP errors, and more, making it easier to identify issues in your staging site.
When choosing plugins for your staging site, consider those that fit seamlessly into your existing workflow. For instance,if you often need to test multiple plugins,a combination of WP Staging and BackupBuddy could be a game-changer. By using these plugins in tandem, you can easily set up a staging environment, make necessary changes, and restore your site to its previous state if needed.
Additionally, here’s a quick comparison table to help you evaluate some of these plugins:
| Plugin | Key Features | Best For |
|---|---|---|
| WP Staging | One-click cloning, easy setup | Beginners |
| Duplicator | Backup & migration, flexible | Site migration |
| WP Rollback | Version management | Testing updates |
| BackupBuddy | comprehensive backups | Site restoration |
| Query Monitor | Performance monitoring | Advanced diagnostics |
Remember, the right plugins can make all the difference in your staging experience. Take the time to explore these options and find the combination that works best for you. Happy staging!
Transferring Your Live Site to the Staging Environment Made Easy
Transferring your live site to the staging environment can seem daunting, but with the right approach, it becomes a breeze. The first step is to ensure you have a reliable backup of your live site. This acts as a safety net, allowing you to revert to the original state if necessary. Here’s how you can simplify the transfer process:
- use a Plugin: There are several WordPress plugins available that can automate the migration process, such as WP Staging or Duplicator.These tools help streamline the transfer with just a few clicks.
- Manual Transfer: If you prefer a hands-on approach, you can manually move your site by exporting your database and copying files via FTP. This method gives you more control over the process.
- Ensure Compatibility: Before transferring, ensure that your staging environment is compatible with your live site’s theme and plugins. This helps avoid conflicts that could arise during testing.
Once you’ve decided on your transfer method, the next step is to configure your staging environment. Make sure your staging site has the same configuration as your live site. This includes:
- PHP Version: Check that the PHP version on your staging site matches your live site for consistent performance.
- Database Settings: Ensure that your staging site has its own database to prevent overwriting anything on the live site.
- Plugins and Themes: Install the same plugins and themes in your staging environment to replicate the live site accurately.
After the transfer is complete, it’s essential to test everything thoroughly. Check your links, forms, and any interactive elements to ensure they function as expected. Consider utilizing a table to outline the testing checklist:
| Item | Status | Notes |
|---|---|---|
| Homepage | ✔️ | All elements loaded correctly. |
| Contact Form | ✔️ | Submission received without errors. |
| Links | ✔️ | All links directed to the correct pages. |
| Media Files | ✔️ | Images displayed properly. |
By following these easy steps, you will not only simplify the process of transferring your live site to the staging environment but also create a more efficient workflow for future updates and changes. Embrace the staging site as your testing ground, allowing you to make changes confidently before going live.
Testing Changes Safely: best Practices for Staging Sites
Testing changes on a staging site is essential for maintaining the integrity of your live website. It allows you to experiment with new features, plugins, and design tweaks without risking your site’s functionality. Here are some best practices to ensure your testing process is both effective and secure:
- Create Regular Backups: Always back up your site before making any changes. This ensures that if something goes wrong, you can revert to the previous state without losing important data.
- Limit User Access: Restrict access to the staging site to only those who need it. This minimizes the risk of unintended changes or exposure of sensitive details.
- Document Changes: Keep track of what changes you make during testing. Documenting your process can help you identify what works and what doesn’t, making it easier to implement successful adjustments on the live site.
One of the key advantages of using a staging site is the ability to test new plugins or themes in a controlled environment. Before deploying any new additions, consider the following:
- Compatibility Checks: Ensure that the new plugin or theme is compatible with your existing setup. Test for conflicts with other active plugins or custom scripts.
- Performance Testing: analyze how changes affect your site’s performance. Use tools to measure loading times and responsiveness before and after implementing updates.
- User Experience Tests: Get feedback from users or team members. Real-world testing can provide insights into usability and overall site experience.
When you’re ready to move changes from your staging site to production, consider using a structured approach:
| Step | Description |
|---|---|
| Review Changes | Go through your documented changes to ensure everything is ready for deployment. |
| Final Backup | Take a backup of your live site one last time. |
| Deploy | Push changes from the staging site to the live site carefully. |
| Monitor | Keep an eye on the live site for any issues that may arise post-deployment. |
Implementing these best practices will not only safeguard your live site but also streamline your testing process. By treating your staging site as a critical part of your development workflow, you can make informed decisions and provide a seamless experience for your visitors.
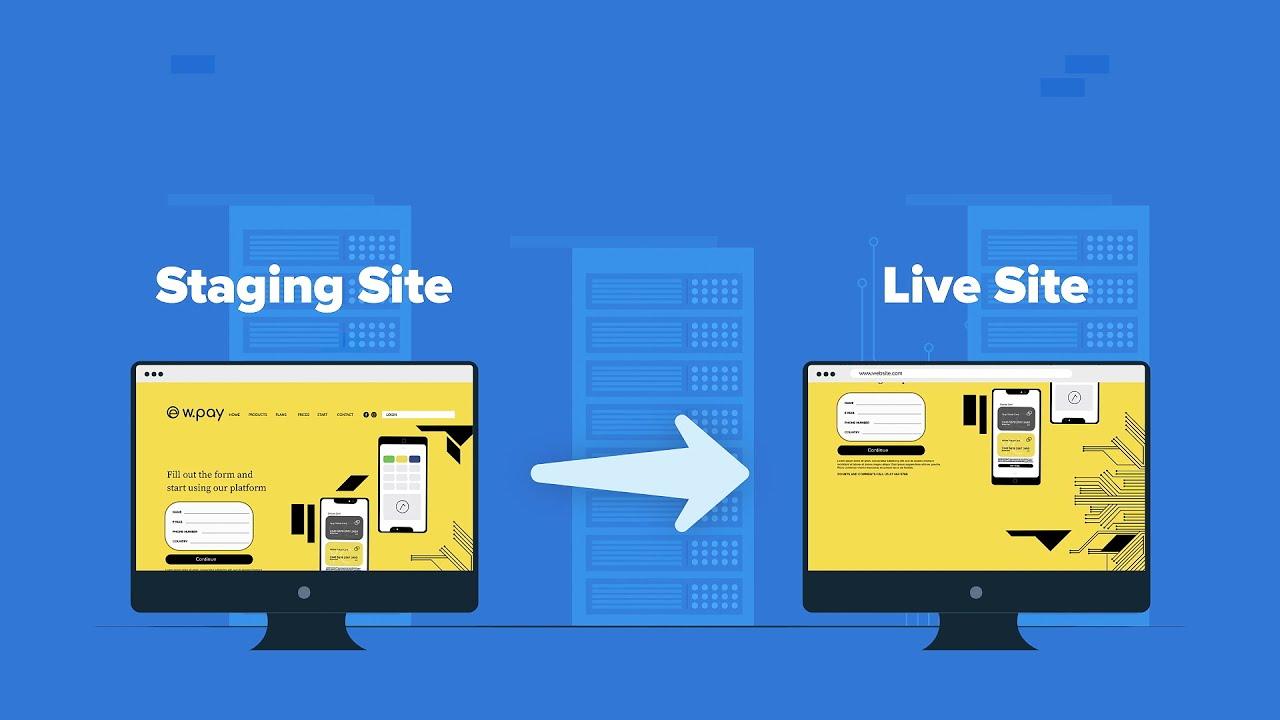
How to Push Changes from Staging to Live Without Stress
Transitioning changes from your staging site to live can be daunting, but with the right approach, it can be a seamless process. Here are some effective strategies to ensure your changes go live without a hitch:
- Backup Your Live Site: Always start by creating a complete backup of your live site. Use plugins like UpdraftPlus or BackupBuddy to ensure you have a restore point in case something goes wrong.
- Test Everything: Before pushing any changes, thoroughly test your staging site. Check for broken links, functionality, and responsiveness on various devices.
- Use Migration Plugins: Consider using reliable migration plugins like WP Migrate DB or Duplicator. These tools can definitely help transfer your changes with minimal hassle.
- Manual Updates: If you prefer a hands-on approach, you can manually copy files and database changes from staging to live. just ensure you have a plan to keep the two environments synced.
- schedule Downtime: If your changes are extensive, schedule a time when traffic is low for the switch.This minimizes disruptions for your visitors.
after implementing these strategies, it’s crucial to review your live site promptly after the transition. Check for any errors or discrepancies that may have occurred during the migration. Here’s a simple checklist to help you out:
| Task | Status |
|---|---|
| Backup Completed | ✔️ |
| Testing on Staging | ✔️ |
| Migrations Reviewed | ✔️ |
| Live Site Reviewed | ✔️ |
don’t forget to inform your team or any stakeholders about the changes. Communication is key to ensuring everyone is on the same page and aware of the new updates. By following these steps, you can make the process of pushing changes from staging to live a stress-free experience.
Common Mistakes to Avoid When Using a staging Site
When diving into the world of staging sites, many beginners fall into common pitfalls that can hinder their experience and effectiveness. Here are some crucial missteps to avoid:
- Neglecting to Duplicate the Live Site properly: Ensuring that your staging site mirrors your live site is key. If certain plugins or customizations are missing in your staging environment, you won’t catch issues before they go live.
- Forgetting to Protect Your Staging Site: A staging site can be a target for hackers.Always secure it with a password and limit access to designated users only.
- Not Testing Changes Thoroughly: It’s tempting to rush updates, but take the time to test every change in the staging environment. This will help you catch bugs or conflicts before they affect your live site.
- Using the Same Database for Live and Staging Sites: Mixing databases can lead to data loss or corruption. Always create a separate database for your staging site to keep things organized and secure.
- Ignoring Performance Considerations: Sometimes,staging sites can slow down due to heavy plugins or custom code. Regularly review performance and optimize as needed.
Another common mistake is not regularly updating the staging site. Just like your live site, your staging environment should be kept up-to-date with the latest WordPress version, themes, and plugins.Failing to do this can lead to discrepancies that might result in unexpected issues when changes are pushed live.
Lastly, don’t forget to communicate effectively with your team. If multiple people are accessing the staging site, ensure everyone is aware of who is making changes and when.You can even implement a simple change log to track modifications. Here’s a straightforward example:
| Date | Changes made | Author |
|---|---|---|
| 2023-10-01 | Updated homepage layout | Jane Doe |
| 2023-10-05 | Fixed broken links | John Smith |
| 2023-10-10 | Added new plugin for SEO | Emily Clark |
By steering clear of these mistakes, you’ll ensure that your staging site is a powerful tool in your WordPress development process, allowing for seamless updates and improvements to your live site without any hiccups.
Maintaining Your Staging Site: Tips for Ongoing management
Once your staging site is up and running, maintaining it properly is crucial to ensure it remains a valuable tool for your development and testing needs. Here are some essential tips for ongoing management that will keep your staging site efficient and effective.
- Regular Backups: Just like your live site, it’s essential to back up your staging site frequently. Use reliable plugins or hosting services that allow automatic backups to prevent any data loss during testing.
- Routine Updates: Keep your themes,plugins,and WordPress core updated on your staging site. This practice not only helps you catch compatibility issues before they reach your live site but also improves security.
- Testing Changes: Utilize your staging environment to test updates and new features thoroughly. Make it a habit to check how changes affect the site’s performance and functionality before pushing them live.
- Performance Monitoring: Regularly assess the performance of your staging site. Use tools to analyze load times and responsiveness, as this can help preempt issues that could arise on the live version.
Implementing a version control system can greatly enhance your management process. Version control allows you to track changes made to your staging site, making it easier to revert to previous states if something goes wrong. This is especially useful when working with multiple developers or when making significant changes.
Lastly, don’t forget to secure your staging site. Use password protection or restrict access to prevent unauthorized users from viewing or tampering with your work. Incorporating SSL certificates and ensuring that your staging site is not indexed by search engines can further enhance its security.
By following these tips, you can maintain a well-organized and efficient staging site that contributes positively to your overall WordPress development process.
Frequently Asked Questions (FAQ)
Sure! Here’s a Q&A that captures a conversational tone while being persuasive about setting up a WordPress staging site:
Q: What exactly is a WordPress staging site?
A: Great question! A WordPress staging site is essentially a clone of your live website where you can test changes, updates, or new designs without affecting your actual site. It’s like having a rehearsal before the big performance!
Q: Why should I set up a staging site?
A: Setting up a staging site is crucial! It allows you to experiment freely—whether it’s testing new plugins, themes, or major updates—without the risk of breaking your live site. Plus, it gives you the peace of mind that everything works perfectly before you hit that “update” button!
Q: Is it difficult to create a staging site?
A: Not at all! Many hosting providers offer one-click staging setups. If your host doesn’t have this feature, there are also plugins that make the process super simple. With a little guidance, you’ll have your staging site set up in no time.
Q: What tools do I need to set up a staging site?
A: Depending on your hosting provider, you might not need any special tools! If they offer staging functionalities, you can use that. If not, plugins like WP Staging or Duplicator are fantastic options. They guide you through the process in a user-friendly way!
Q: Can I set up a staging site for free?
A: Yes, you can! Some hosting providers offer free staging setups as part of their hosting plans. If you’re using a plugin, they often have free versions that can get the job done. Just keep in mind that the more features you want, the more you might need to pay.
Q: How do I make sure my staging site is secure?
A: Security is key! Ensure that your staging site is password-protected so only you (and trusted collaborators) can access it.Most plugins and hosting providers allow for easy password protection to keep your work private.
Q: What should I do after I finish testing on the staging site?
A: Once you’re satisfied with the changes, it’s time to push those updates live! Many staging tools have a “push to live” feature that simplifies the process. just remember to back up your live site first—better safe than sorry!
Q: Is it worth the time to set up a staging site?
A: Absolutely! Think of it as an investment in your website’s health. The time you take to create a staging site can save you hours of potential headaches in the future. you’ll be able to make changes confidently, knowing you’ve tested everything thoroughly.
Q: Any final tips for beginners?
A: Don’t hesitate! The sooner you set up your staging site, the better prepared you’ll be for any updates or changes down the line.And remember, practice makes perfect. The more you use your staging site, the more comfortable you’ll become with WordPress as a whole!
This Q&A format should effectively engage readers while persuading them to take action on setting up their own staging site.
To Wrap It up
As we wrap up this beginner’s guide to setting up a WordPress staging site,let’s take a moment to reflect on just how beneficial this practice can be for your website’s health and success. Whether you’re testing a new theme, experimenting with plugins, or tweaking your content, having a staging site allows you to do so safely and without impacting your live site.
Imagine the peace of mind you’ll have knowing that any changes you make are being tested in a risk-free environment. You can explore, troubleshoot, and innovate without the fear of breaking anything important. Plus, when you’re ready to roll out your updates, you can do so confidently, knowing that everything has been thoroughly vetted.
So, why wait? Dive into the world of staging sites today! With the steps outlined in this guide, you’re well on your way to crafting a more robust and reliable WordPress experience. Don’t hesitate to revisit this guide whenever you need a refresher, and remember: every successful website starts with a good plan. Happy staging!